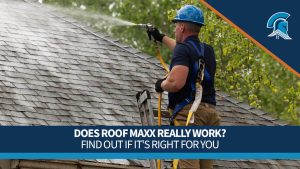

Home renovations like solar installation and chimney or electrical work increase the risk of roof and shingle damage even if the roof itself isn’t being worked on. Older asphalt shingles are vulnerable to cracking and granule loss from foot traffic, but cutting into the roof to install vents and other penetrations is particularly risky. Vet contractors carefully in advance, and consider scheduling roof restoration before or after to help preserve your shingles and resolve minor issues, like nail pops.
| Time to Read |
|
| What You’ll Learn |
|
| Next Steps |
|
When you’re gearing up for a renovation, it’s only natural to focus on the space you’re planning to transform. Most folks start mapping out the budget and bracing for how the project might shake up daily routines weeks or even months in advance.
Good preparation is your best defense against headaches and costly mistakes, but it’s also vital to remember that no one element in a home operates in a vacuum. The same work that starts in the kitchen or bathroom can still easily call for someone to get up on the roof or even cut into it.
In this guide, you’ll learn how Roof Maxx can help you get your roof ready for reno day and recover from age-related degradation or granule loss. We’ll also walk you through the most common types of damage that can happen and what you can do to successfully avoid it starting right now.
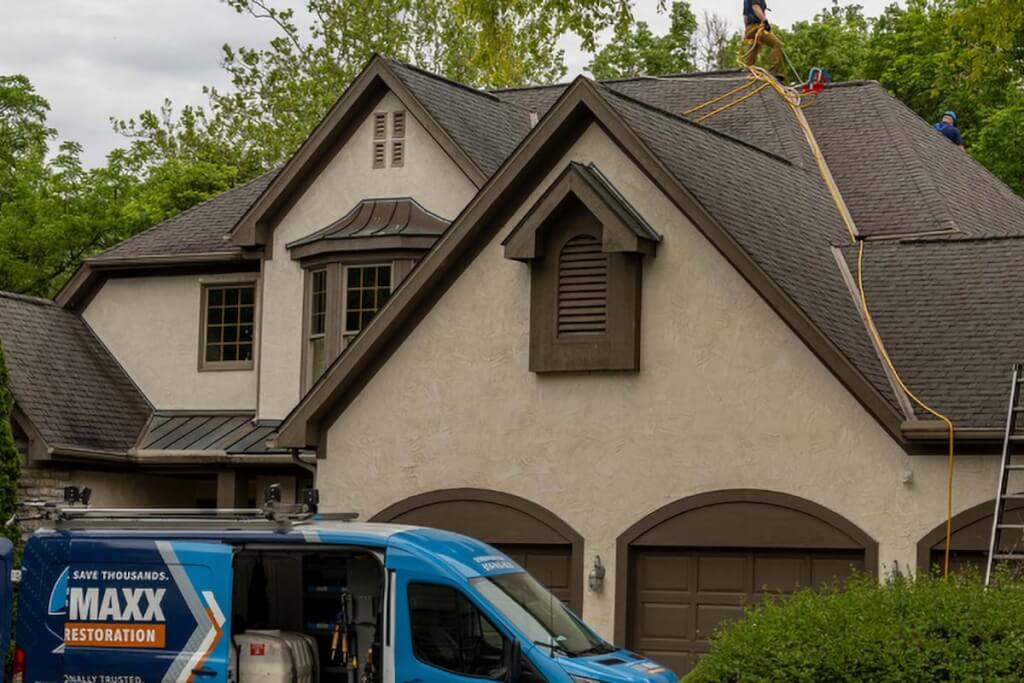
Renovations are stressful enough on their own, but when the job involves working on or around an aging asphalt roof, it’s only natural to be a little nervous about what might go wrong along the way. Roof Maxx’s comprehensive roof restoration process gives you peace of mind and greater durability instead.
Scheduling an appointment beforehand can effectively:
From the free assessment to the final treatment, every step is designed to resolve the number one problem that makes shingles vulnerable to damage: loss of flexibility. It’s an advanced, holistic shingle maintenance solution built by real roofing experts that delivers maximum value and lasting protection.
*Some asphalt shingle roofs may qualify for up to two additional treatments. If that’s you, you could be looking at guaranteed flexibility for a total of up to 15 years!
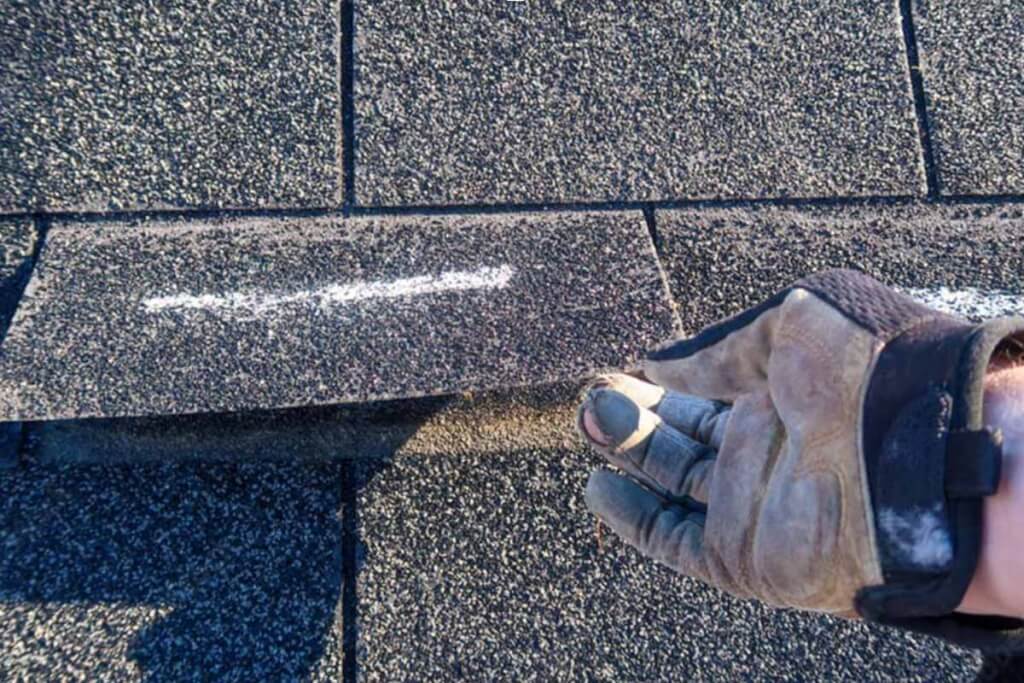
Your contractor and their team may need to walk across the roof multiple times during a renovation, but it’s really the condition of your roof that defines how likely that is to cause damage. If your asphalt shingles are old, dried-out, and already brittle, it won’t take much for them to split, break, or crack.
The degradation process itself starts much earlier:
Most people don’t notice the signs from the ground until it’s so advanced they’re losing shingles or dealing with leaks, and by that point, it may be too late to intervene. That’s why yearly inspections matter so much.
Learn More: Thermal Cycling: How Temperature Swings Shorten Roof Life
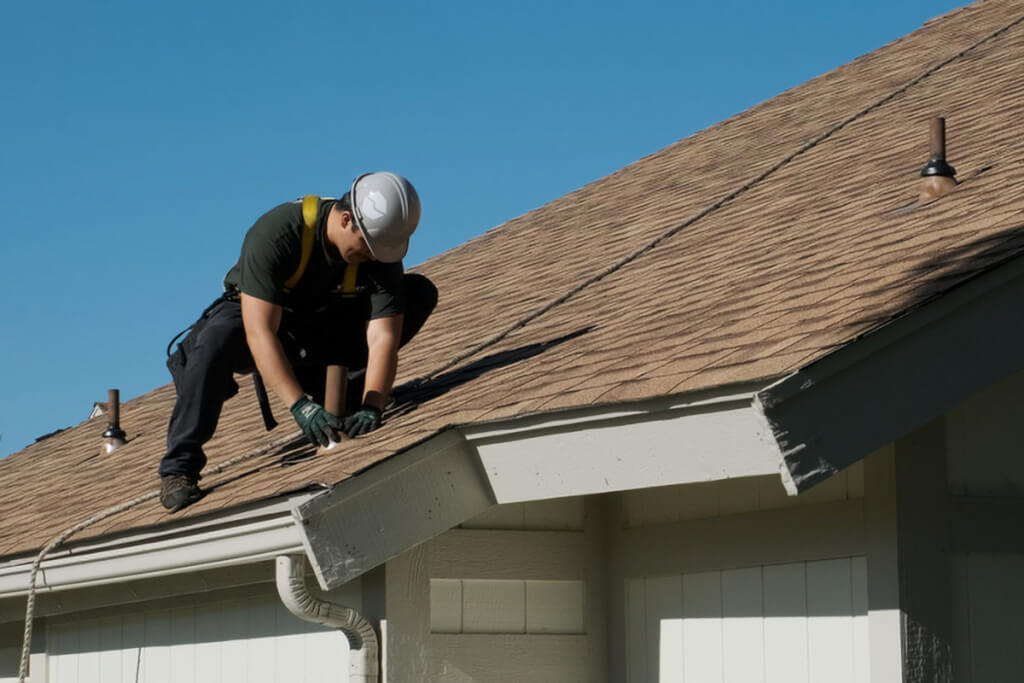
It’s easy to automatically blame the contractor for making a mistake when they tell you something went wrong while they were up on the roof. The truth is that damage from foot traffic or even just working adjacent to the roof itself can occasionally happen even if you hire the best contractor in the world.
There are so many different vectors for damage:
Stacking heavy tools, equipment, or materials in one area is just as much of a problem because it adds weight and pressure on the entire roofing system. Crews replacing second-story windows, for example, might use a lower roof as a temporary staging area even though the project has nothing to do with roofing.
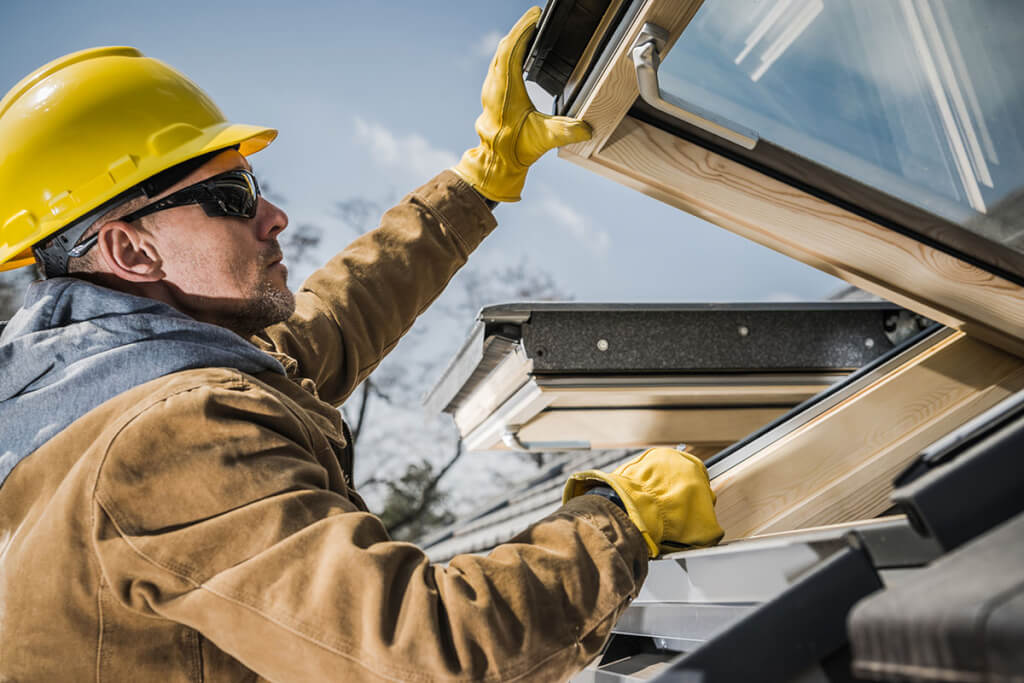
Around 99% of all roof leaks start around flashing at entry points for chimneys, plumbing vent pipes, electrical wires, HVAC installations, and other penetrations. Anytime you’re cutting into the roof or shingles like this, the risk for serious damage like sneaky, hidden leaks rises exponentially.
The “why” here is simple: it only takes a gap of around 1/1000th of an inch for water to work its way down into your decking and the rest of the roofing system. That’s thinner than a human hair.
To avoid issues, contractors need to:
One missed step or oversight is all it takes to create a weak point that slowly worsens over weeks or even years. Then, one day you suddenly realize you have mold in the attic or water pouring out of your ceiling even though you had no idea there was a leak.
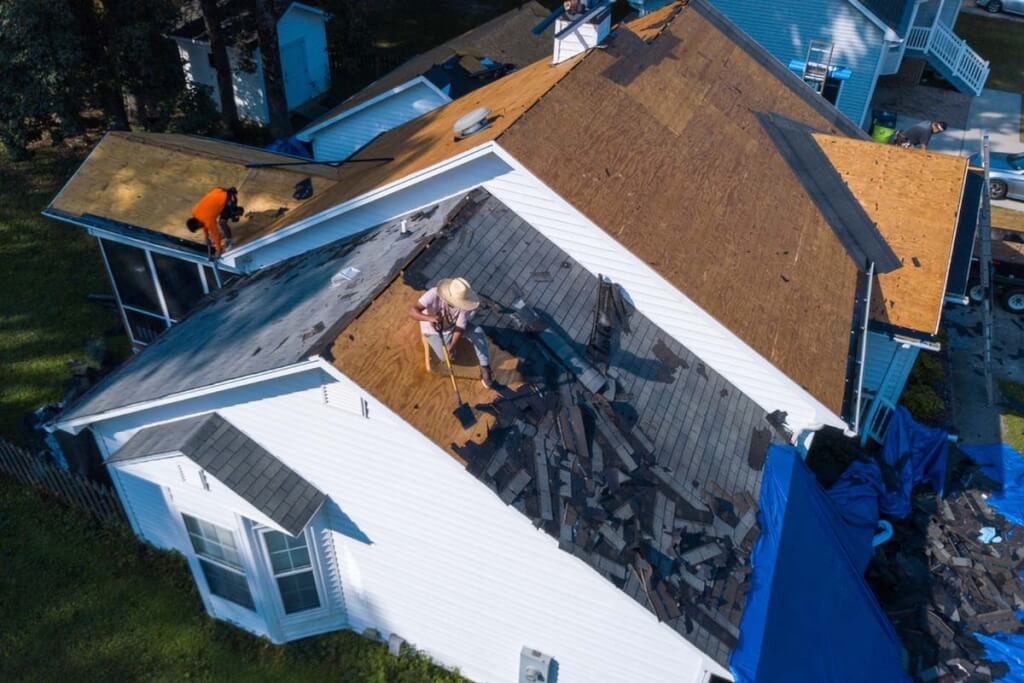
Renovations are messy by nature, especially once crews start cutting, grinding, sanding, painting, or cleaning around the home’s exterior. Any debris that piles up on the surface traps moisture, heat, ice, and snow against your shingles, worsening the effects of thermal cycling.
But there are other ways for damage to happen:
Experienced contractors plan around risks like these every time. They might build scaffolding to avoid walking on the roof at all, pause work to clear away debris every few hours, or even reschedule work when the temperature drops to reduce the risk of shingles cracking in the cold.

Hire the wrong contractor, and you just might find yourself paying for additional repairs on top of the renovation you already have scheduled. Taking the time to do your research just makes good financial sense, especially right now when the cost of materials and labor are so high.
You want to start off by casting a fairly wide net:
Once you’ve narrowed it down to five or six contenders, set up an initial chat. You can do this in person or over the phone; either way, the point is to get a feel for who you’re working with and how upfront or honest they are. Use the 10 questions below to get to know them and root out any potential red flags.
Learn More: Red Flags in a Roofing Estimate: What Homeowners Often Miss
Start here because even a kitchen, window, or HVAC renovation may require someone to go on the roof. Ask them to explain which parts of the job require access, who needs it, and how often. A good answer should be specific enough that you know what to expect before work starts.
You want to know whether they have a real access plan before ladders and scaffolding show up. Ask where they plan to enter, which areas they’ll cross, what safety gear they use, and whether everyone plans to use the same route. The goal is to limit unnecessary traffic across the shingles.
“We’ll be careful” is nice lip service, but it isn’t a guarantee or plan. Ask for a rundown of what they’ll do if they encounter fragile shingles or run into damage no one was aware of before the work started. It’s unrealistic to expect 100% perfection, especially on an older roof, but they should still put in the effort.
Ask what they plan to put there, where it will go, and how long it will stay. A reliable contractor will always factor in total weight, drainage, and other potential concerns before they decide to use the roof as a staging area. Better yet, they’ll find a way to avoid doing it altogether.
Ask about every vent, pipe, wire, exhaust opening, or other penetration before work begins. Can they walk you through their process? What steps do they take to ensure a perfect seal afterward? Will they guarantee the work so that, if it isn’t done right, you can have them come back and fix it?
Don’t assume the person installing the equipment also handles the roofing side of the job. Often, contractors who don’t handle roof work will bring in a subcontractor they trust, but you can also ask if they’re willing to work with your current provider. Make sure you know who’s responsible for the work in either case.
Ask what happens to nails, sawdust, masonry dust, paint residue, cleaners, and rinse water while the work is underway. A strong answer should cover containment during the job as well as cleanup at the end. Be wary of anyone who tells you they don’t provide cleanup services at all.
Ask who reports the damage, who pays for the repair, and who fixes it. You want that responsibility spelled out before work starts so there’s no confusion later. Often, this will be their insurance provider, but the rules around who to call and how to make a claim can vary widely state to state.
Roof Maxx itself comes with a fully-transferrable 5-year flexibility guarantee as well. It won’t protect you from all potential mistakes, but it will give you at least one fewer problem to worry about.
You ideally want a solid “yes” here. A pre-job inspection ensures all parties understand the roof’s current condition and any pre-existing issues. Ask for photos of any areas the crew expects to access, work around, or use for staging so you have a clear record of the roof’s condition.
Lastly, ask about the final inspection and what they typically look for. A good answer might include shingle damage, flashing gaps, nail pops, or drainage testing, depending on the nature of the renovation. Some states and cities make it mandatory for the city to come in and inspect the site instead of the contractor, but they should be able to arrange this for you when they pick up the permit.

Don’t rely on the contractor’s final walkthrough as your only line of defense. Take your own photos from the ground once the work is finished, then compare them with anything documented beforehand. If something feels off about the work overall, seek a second opinion from an unrelated roofer.
Keeping a log of all appointments that includes the type of work handled, what was installed or repaired, and who handled the work can also be very useful. It gives you hard proof in case you ever need to file an insurance or warranty claim later on down the line.
When it comes to getting ready for renovations that involve the roof or recovering from them, you can’t go wrong by scheduling a roof assessment. To find what you should be looking for and what it takes to detect even the sneakiest signs of trouble, check out our homeowner-friendly Roof Assessment Guide.
Ready to get the ball rolling right now? Great, we can help! To get your free, no-obligation assessment and learn more about the condition of your roof, find a dealer near you.
Limit roof traffic, establish one access route if you do need to get up on the roof, and try to keep tools and materials off of the roof itself. If this isn’t possible, we recommend scheduling a roof assessment before the work starts to ensure you aren’t kicking off a project when it’s already at risk.
Roof Maxx treatment typically costs around $1.75 per square foot, although your final bill will depend on the roof’s size, slope, height, condition, and complexity. It’s a convenient alternative to costly, life-disrupting tear offs and replacements that costs up to 80% less than a new roof.
First and foremost, just ask! They should also be able to clearly explain their roof access, staging, flashing, cleanup, and damage protocols. You also want to confirm their license is active and current without any outstanding complaints.
Definitely! First, take pictures and videos of the roof from the ground, and flag any existing leaks or damage you already know about. Keep the yard near the worksite clear to reduce the risk of accidents. We don’t recommend getting up on the roof yourself unless you’re already trained to do so safely.




With our five-year, transferable warranty, you’ll enjoy the peace of mind that your roof and entire home are protected.