
The best way to protect the exterior of your home in cold climates is to follow a set maintenance schedule in the fall and spring. Inspect your roof, windows, doors, gutters, and foundation so you can take care of any necessary repairs first. In regions like the Upper Midwest and Great Lakes, experts also recommend ventilation upgrades, attic air-sealing, and installing ice and water shield. Roof restoration treatments restore flexibility to aging asphalt shingles so they’re less likely to crack.
| Time to Read |
|
| What You’ll Learn |
|
| Next Steps |
|
Freeze-thaw cycles, ice dams, and foundation cracks cost cold-climate homeowners thousands every spring. You’ll need to do a lot more than just shovel away the snow and knock the icicles off your roofline if you want to avoid the repair bill that comes with them.
That’s why fall is such an important time in areas like the Upper Midwest, New England, or the Great Lakes. Getting maintenance tasks out of the way early is smart, but it isn’t always enough to ward off the thermal stress that happens every time the temperature swings.
In this guide, you’ll learn how cold-climate damage like this happens, get realistic tips for dealing with it the right way, and find out which projects offer the most protection. We’ll also tell you why scheduling a Roof Maxx treatment in the fall could save your shingles.
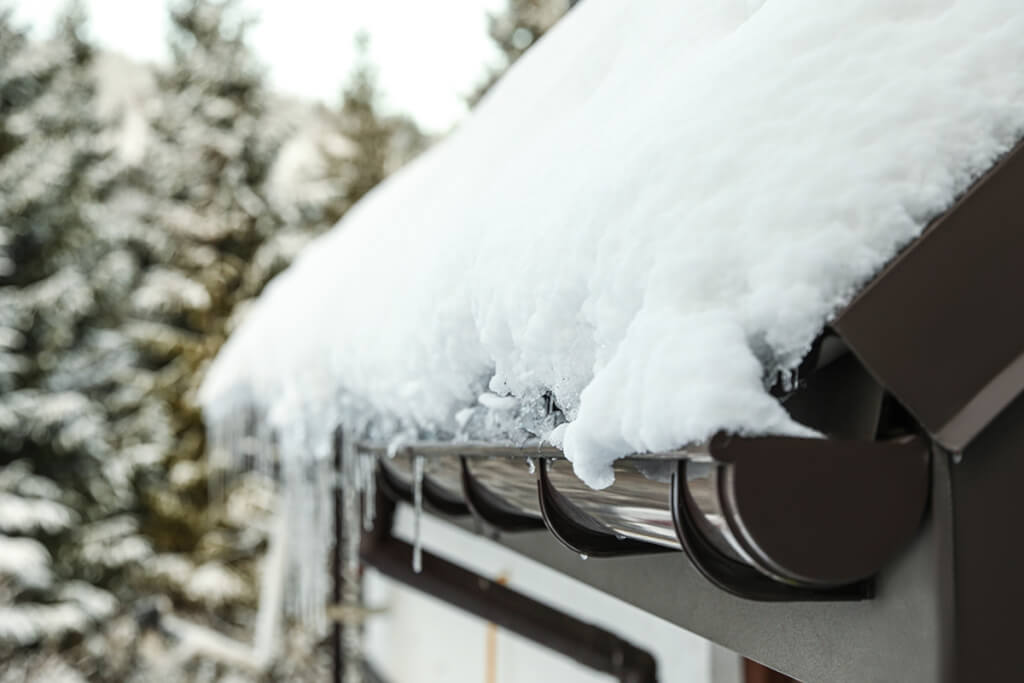
Ice dams form when heat from inside your home warms the roof enough to melt the snow sitting directly above it. Meltwater will naturally run toward the colder eaves, where it can freeze up again and trap additional water that turns into a solid ridge of ice.
Once water starts backing up, it can leak in under your shingles and eventually reach the roof deck, the insulation in your attic, or worse, the walls and ceilings below it. To see how this happens in realtime, check out the short video clip below, then learn more about how to spot leaks like these.
Good attic ventilation helps keep the underside of your roof cooler so snow melts more evenly instead of feeding an ice dam. For most vented attics, you want fresh air entering low through the soffits and warmer air leaving near the roof peak, but it’s also important to have the right type of vents.
Should You Do This Yourself?
You can usually check soffit vents and clear accessible blockages without much trouble, but we don’t recommend climbing up on the roof unless you know how to handle roof work safely. Roof vent installations can also be complicated, so it’s safer to call a pro.
| What to Check | What You Want to See | Common Mistakes |
|---|---|---|
| Ventilation amount | About 1 sq. ft. of net free vent area for every 150 sq. ft. of insulated ceiling in the attic. Some homes may need up to 1:300 instead. | Too little vent area for the size of the attic |
| Intake vs. exhaust | An equal balance of intake and exhaust vents, preferably with the intake positioned low on the roof and the exhaust positioned higher up. | Having too little of one and not enough of the other. |
| Intake vent Specifics | Unobstructed openings with enough vent area to bring fresh air into the attic consistently across the eaves. | Blockages caused by leaves, dirt, debris, or insulation |
| Exhaust vents | Passive ridge or roof vents that let attic air escape naturally. Powered vents aren’t recommended and may actually pull warm air out of the home. | Blockages at the ridge or in roof vents |
Ice and water shield is a self-sealing membrane that covers the roof deck along the eaves, and it acts like a second line of defense that stops water from getting up under your shingles. It won’t stop ice dams from forming, but it will help negate some of the damage they can cause.
It’s important to note that ice and water shield isn’t the same as standard roof underlayment. You can learn more about that and why it matters in this interview with our founder, Mike Feazel:
Should You Do This Yourself?
Probably not. Installing the membrane requires removing roofing materials and correctly integrating it with the rest of the roof assembly. Get any part of it wrong, and you might end up dealing with a serious leak or worse. We recommend handing it off to a roofer with experience.
| What to Check | What You Want to See | Common Mistakes |
|---|---|---|
| Membrane type | A self-sealing peel-and-stick membrane designed to protect the roof deck from water intrusion. | Using ordinary underlayment, which doesn’t provide the same level of protection. |
| Location | The membrane should run continuously along the eaves beneath your shingles. | Protecting isolated areas instead of the entire roofline |
| Coverage | The goal is to extend the membrane out until it reaches at least 2 feet past the exterior wall below. | Measuring from the eave alone and stopping the membrane too soon. |
| Installation | Ice and water shields must lie flat with no gaps, creases, or folds. | Seams, wrinkles, or gaps that allow water to leak into the roof. |
Attic insulation keeps more of the heat you pay for inside your living space instead of letting it rise toward the roof deck. In cold climates, that can help keep the roof temperature more consistent while also making your home easier to heat.
Should You Do This Yourself?
You can check insulation levels or even add batts on your own if you’re DIY-inclined and your attic is easy to access. For blown-in insulation and any work that requires you to handle wires, the chimney, or any other heat-producing fixture, call a pro instead.
| What to Check | What You Want to See | Common Mistakes |
|---|---|---|
| R-value | For cold-climate Zones 5 through 8, ENERGY STAR recommends R60 in an uninsulated attic or R49 if you already have 3 to 4 inches installed. | Incorrect R-value or insufficient insulation |
| Coverage | An even layer across the attic with no exposed joists, thin spots, or bare areas near the edges. | Piling insulation high in the middle while leaving less around the perimeter |
| Air sealing | Gaps around attic hatches, plumbing, wiring, ducts, and other ceiling penetrations sealed before new insulation goes down. | Adding more insulation without sealing the air leaks underneath it first |
| Insulation type | New insulation that’s compatible with what you already have. Loose-fill can usually go over batts, while fiberglass batts added over loose-fill should be unfaced. | Assuming you need to remove perfectly usable insulation before adding more |
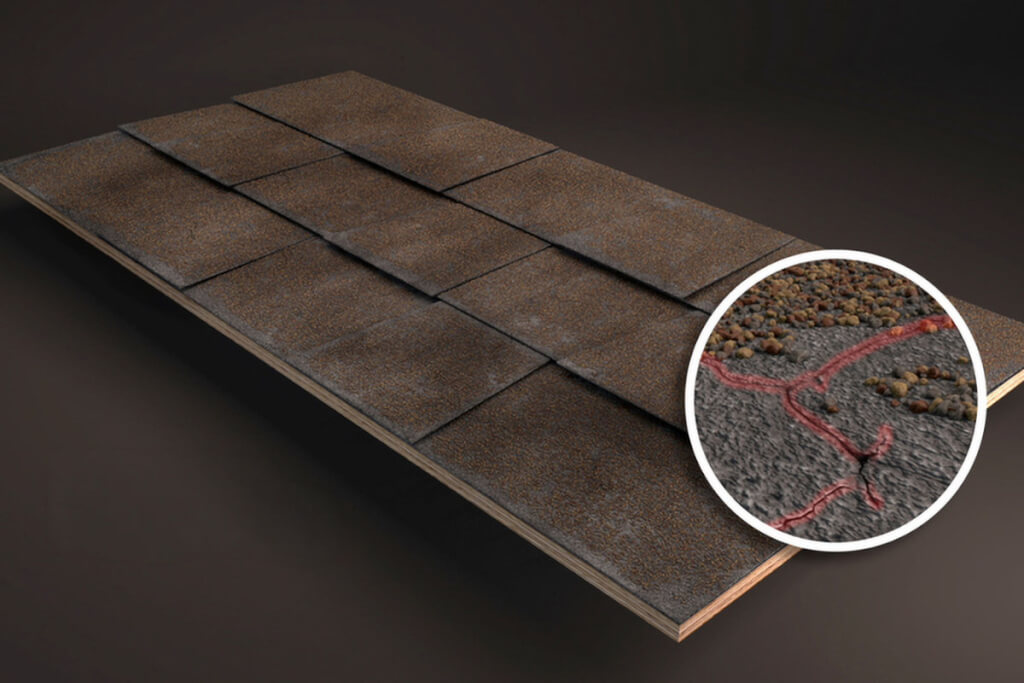
The surface temperature of your roof can rise to around 40°F and then drop again to under 10°F many times over the course of the winter. Just about everything from the sun itself to heat rising from inside your home contributes to it, and your shingles respond by expanding and then contracting every time.
This process is called thermal cycling, and over time, it can cause your shingles to crack or lift away from the roof. Brittleness from age-related oil depletion makes them especially vulnerable to both outcomes, so the risk for this type of damage climbs significantly as the years roll by.
You can’t control the weather, but there is an effective way to get your shingles ready for cold weather that also benefits your roof in ways that last all year long. Roof Maxx’s multi-step roof restoration process replaces the petrochemical oils your shingles lose over time with safe, all-natural oils.
Having your roof treated in the fall will:
Many dealers also offer an optional Roof Tune-Up that includes minor repairs to resolve issues like nail pops, cracked caulking, or roof cleaning. It’s the kind of comprehensive maintenance all roofs need anyway, and it always starts with a free, no-obligation assessment.
Connect with a dealer in your area now to learn more.
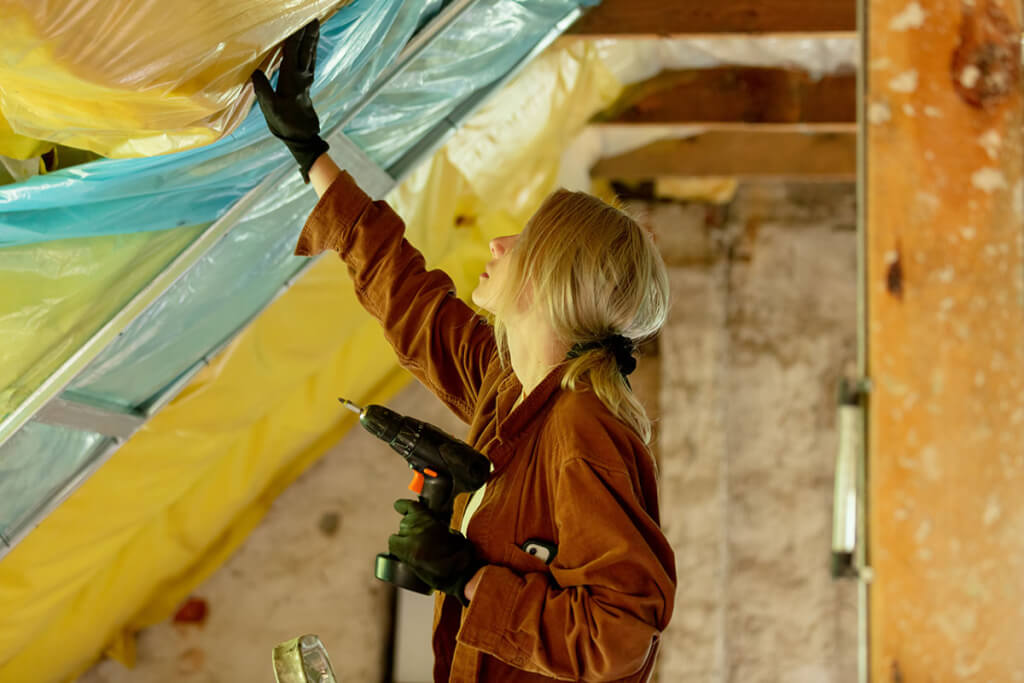
Now that you know how to protect your roof, it’s time to talk about the rest of your exterior. The same conditions that put stress on your roof also affect the building materials throughout the rest of your exterior, so it’s equally important to keep your gutters clear and care for your foundation, windows, and doors.
We recommend taking care of tasks like these in early fall:
It’s much easier to handle almost all of these tasks before the temperature drops and snowstorms roll in. Trying to deal with them in the middle of a deep freeze or blizzard is no fun for you, and contractors almost always charge more for service calls because the conditions are harder to work in.
By this point, you already have a pretty good idea of what you need to tackle before the winter, but it’s also equally important to know when it makes the most sense to take care of projects and tasks like these. Use the simple schedule below to map out the ideal cold-climate maintenance plan.
| September | October | November | March | April | |
|---|---|---|---|---|---|
| Roof | Professional Roof Inspection Roof Repairs Roof Maxx Assessment & Treatment | Ventilation Checks/Upgrades Install Ice and Water Shield | Last-Minute Roof Check Monitor Performance | Monitor for Leaks | Spring Inspection Repair Winter Damage |
| Gutters | Gutter Inspection and Testing | Clear Leaves and Debris | Final Gutter Cleaning Monitor for Blockages | Monitor for Spring Overflow | Spring Inspection Repair Winter Damage |
| Attic | Schedule an Insulation Review | Upgrade Insulation Schedule Air Sealing | Monitor for Vent Clogs or Failure | Monitor Attic Temperature and Moisture Levels | Schedule Repairs or Remediation |
| Foundation | Confirm Proper Grading and Drainage Make Adjustments | Improve Drainage Around Footings Add Downspout Extensions | Keep Drainage Paths Clear | Monitor for Damage or Drainage Failures | Inspect for Cracks, Heaving, or Erosion Schedule Repairs |
| Windows & Doors | Inspect Weatherstripping, Caulk, and Seals | Replace Weatherstripping and Re-Caulk Gaps Schedule Repairs | Monitor for Sticking, Swelling, and Leaks | Continue Monitoring for Damage | Repair Winter Damage |
Knowledge is power, and when it comes to learning about home maintenance and roof care, our learning hub is one of the best places to bring yourself up to speed.
Get more tips and strategies from our experts in these guides:
With educational resources like these, it’s easier to get your home ready for anything Mother Nature tries to throw at you. You’ll also be in a better position to choose the projects and upgrades that deliver the most value for your time and money long-term.

Winter has a way of exposing every weak spot in your home’s exterior, but you shouldn’t wait for the weather to put you in a position where you’re facing costly repairs. If you use all of the knowledge you learned here today to get ahead of it, you’ll skip the headaches and save money at the same time.
When it comes to lowering your roof care costs, one of the best ways to save money is to schedule a Roof Maxx rejuvenation treatment before winter forces you into an early replacement. To start enjoying long-term benefits like improved flexibility and performance today, get a free estimate.
It depends. Around 20 pounds of snow per square foot is a useful general benchmark, but your roof’s actual limit will depend on factors like the design, age, location, and the kind of snow piling up. Wet, packed snow gets heavy much faster than fresh powder, so you can’t judge the load by depth alone.
Yes, especially if it starts piling up after a heavy storm. Too much snow can put a lot of extra weight on your roof, and wet snow gets heavy fast. Always use a roof rake from the ground instead of climbing up there yourself so you don’t slip and fall. For deep buildup or hard-to-reach areas, call a professional.
Warm, moist air from inside your home rises into the attic and then condenses once it hits the cold underside of your roof decking. This leads to moisture buildup that freezes into frost or seeps into your wood and insulation. This can eventually lead to water damage, mold, or structural rot.
Yes, roofers can replace a roof during the winter, but cold temperatures make the job more complicated, and it’s risky to work on a potentially slippery roof. The fact that asphalt shingles are inherently more brittle also forces crews to work more slowly, which leads to higher labor costs.


With our five-year, transferable warranty, you’ll enjoy the peace of mind that your roof and entire home are protected.