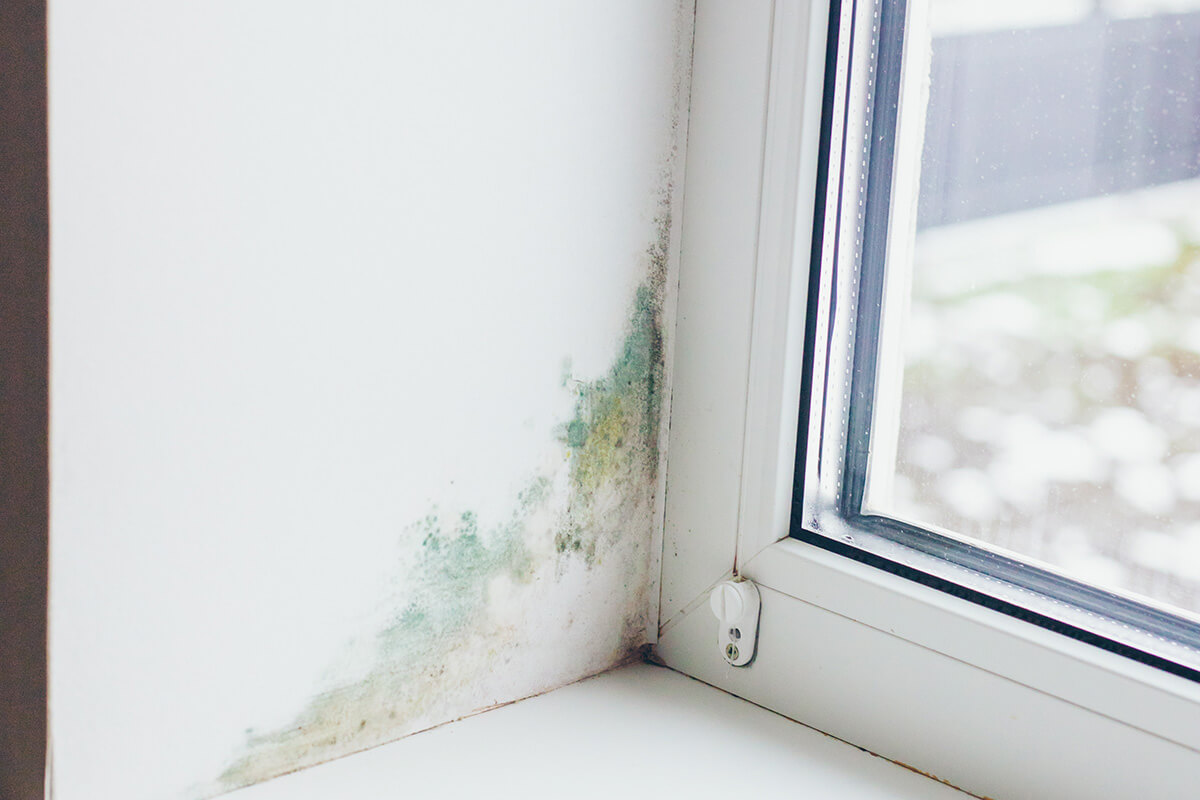

Mold usually develops as black, green, or gray spots along the seams and edges of the window. You can’t always tell if it’s unsafe just by looking, so you should wear gloves and use a respirator when removing it. White vinegar, hydrogen peroxide, and EPA-approved cleaners like RMR-141 are the most effective for treating mold when used correctly, but you should never use bleach. To remove mold, apply your cleaning product of choice, then scrub the area gently to loosen it up. Dry the area afterward with a soft towel.
For about 47% of homeowners in the US, mold on windows and other surfaces isn’t a new problem, it’s something they’ve seen before. When it crops up in bathrooms or kitchens or along your windows, it often seems minor at first, but it’s a warning sign that you have too much moisture in your home.
Treating mold promptly is important because it can look unsightly, make you seriously sick, and even destroy your windows over time. Below, you’ll find everything you need to know to treat it and prevent it from taking hold (and no, bleach isn’t always the answer).
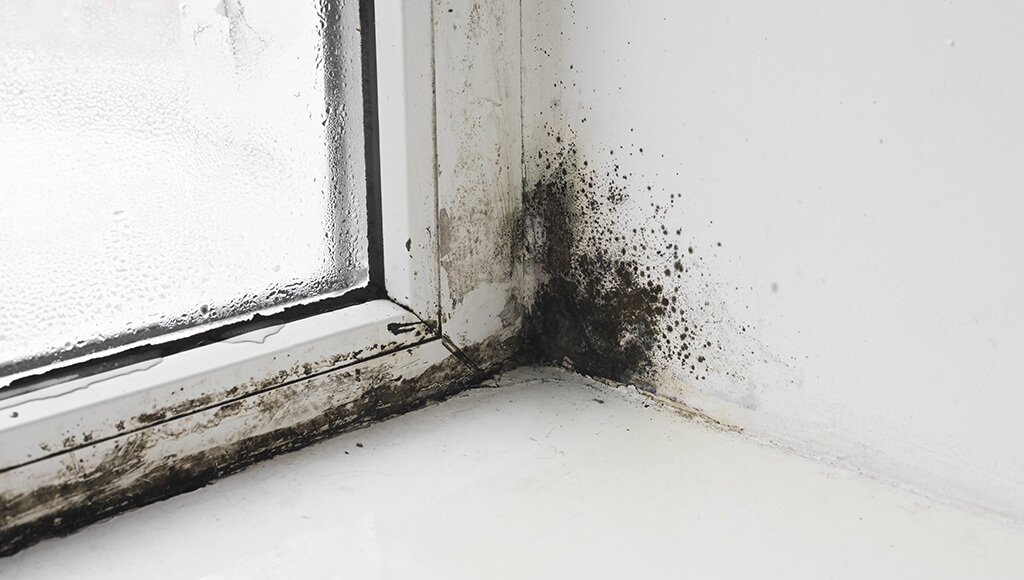
First, let’s talk about what mold really is: a group of fungi that thrive in damp, poorly ventilated spaces. Scientists have discovered over 100,000 types in total, but you’ll typically only find 10 or 20 specific types in your home. Some are relatively harmless, while others—like black mold—can be very dangerous.
Molds typically develop as black, green, or gray spots along window sills, frames, and seams where the frame meets the glass. A musty smell near windows may also point to hidden growth behind surfaces.
Other signs include:
These symptoms aren’t always caused by the mold itself, but signal a moisture problem instead. And where there’s excess moisture, mold is rarely far behind.
Condensation from temperature differences or leaks around the window frame create an ideal environment for mold growth. When you shower, bathe, or wash dishes, moisture evaporates into the air, which is why bathrooms and kitchens are one of the most common rooms for mold to grow in.
Improperly sealed or fitted windows can also contribute to the problem, either because they allow the damp in or because they develop leaks. Fixing problems like these and ensuring proper ventilation can help you prevent mold from coming back after you remove it.
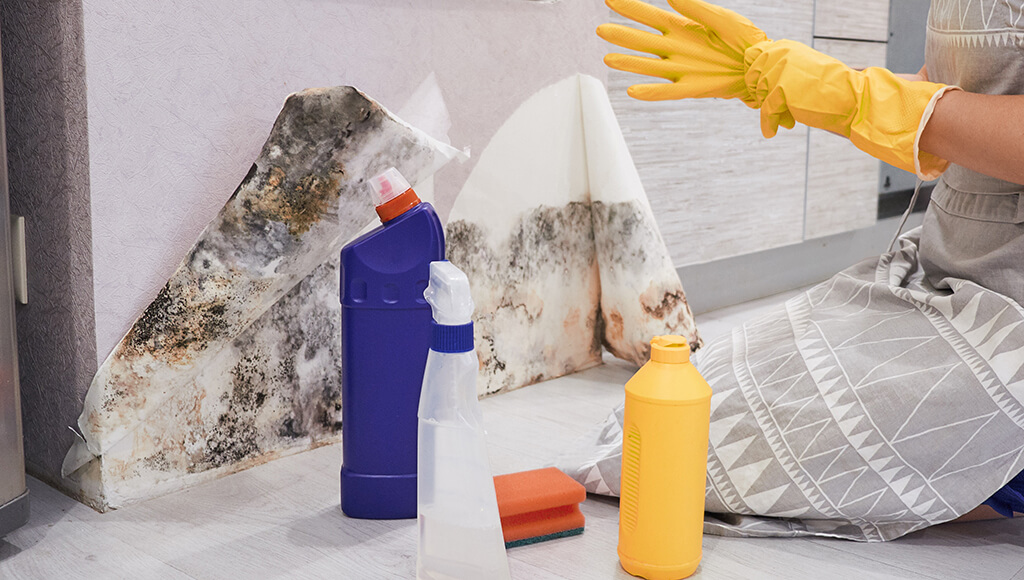
You can’t always identify whether mold is dangerous by appearance alone. That’s why it’s best to err on the side of caution and take steps to protect yourself from exposure before you start.
Mold spores travel on the air and stick to surfaces, so you always want to take steps to prevent inhaling it or making physical contact with it in any way. To stay safe:
An N95 respirator mask will provide the best protection from spores. Regular hospital-style face masks, bandannas, and other DIY solutions aren’t effective because they let too much air in at the sides.
For best results, choose a cleaning product with a proven ability to kill mold. Stay away from bleach unless you have no other option—it’s corrosive, won’t work on porous surfaces, and leaves behind dead spores that can still trigger allergies. Try these alternatives instead:
For extreme cases (e.g., mold in walls or soft surfaces), consult a mold remediation expert before you start. It may not be safe to try and clean it on your own.
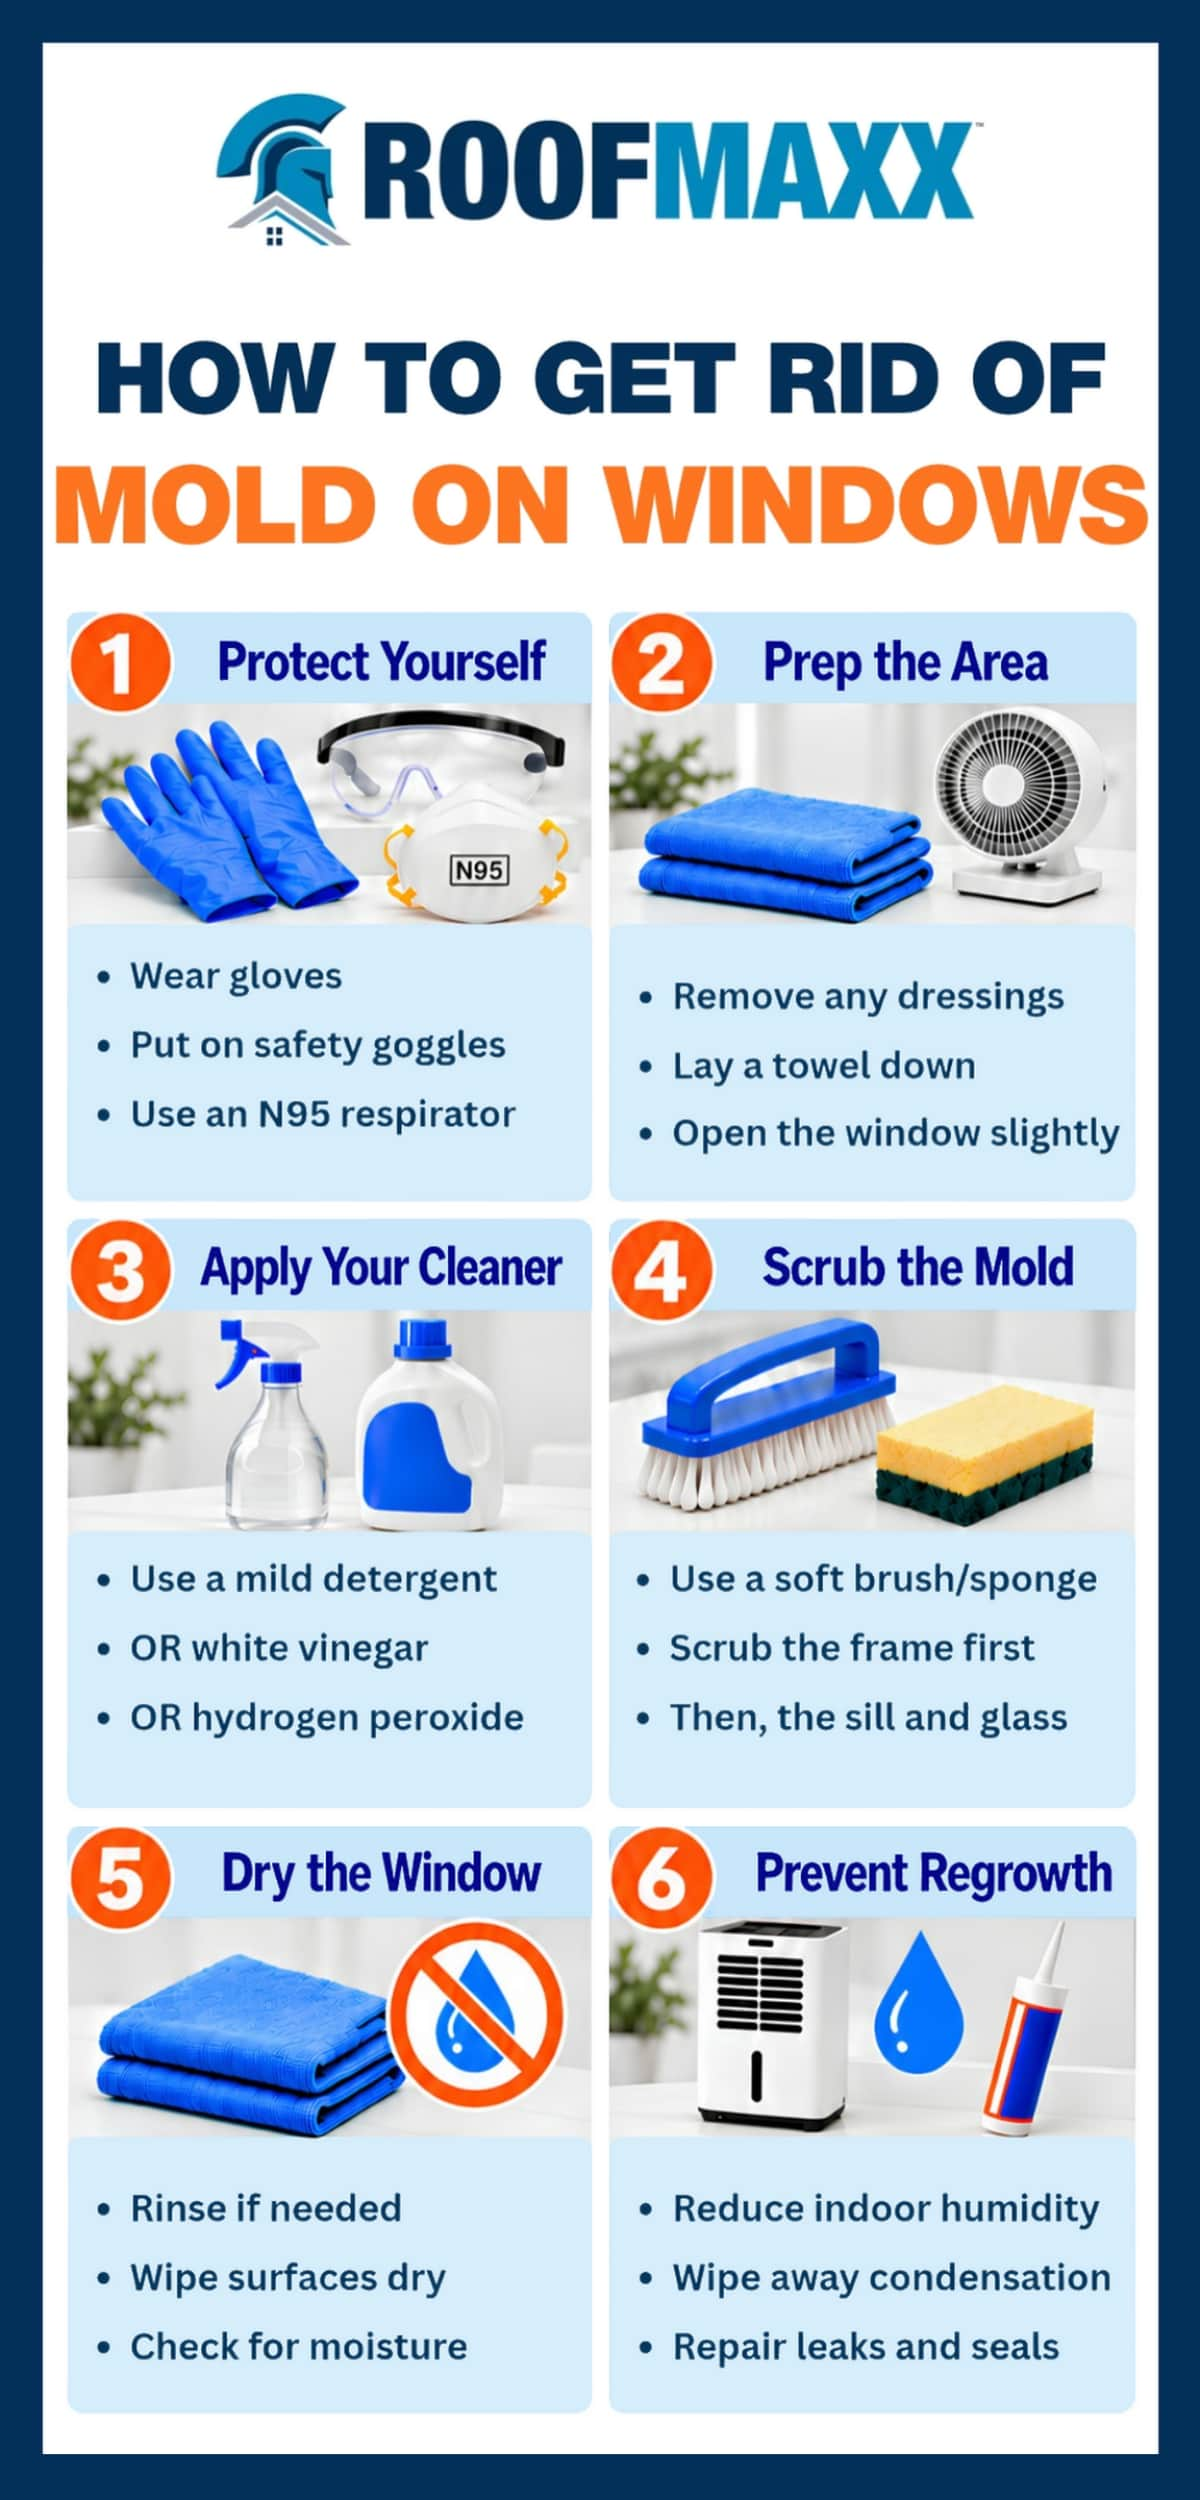

Addressing the root cause of moisture is the only way to stop it from recurring, but this isn’t always an easy task. If you suspect a roof leak or more serious problem, like mold in your walls, it’s best to call in a professional remediation team. Otherwise, follow the next few steps.
To keep your windows in top shape, follow these best practices:
Check carefully for misalignment, leaks around the frame, or an incomplete seal when each window is shut. All of these can contribute to mold growth, so if you suspect a problem, have it looked at right away.
Some leaks shout, but most whisper.
That’s a problem, because roof leaks let moisture into places that should stay dry. Over time, water can work its way into your attic insulation, wall cavities, and the framing around windows, creating the conditions mold needs to grow. Ceiling stains, peeling paint near windows, and a musty smell in the attic are common early signs.
Many leaks start small, where materials meet:
You can sometimes spot red flags like these from the ground, or even from inside the attic, but a professional roof evaluation is the most reliable way to know what’s going on for sure.
If you already have an active leak, get it repaired promptly so moisture doesn’t have time to spread.
Beyond repairs, routine roof maintenance helps you stay ahead of problems as your roof ages. Keep gutters and downspouts clear so water moves off the roof and away from your home. And keep an eye on the condition of your shingles. As asphalt shingles age, they dry out and turn brittle, which leaves them more prone to cracking.
Roof Maxx is a penetrant that absorbs into the shingles to help restore their flexibility and extend their life. A local Roof Maxx dealer can evaluate your roof, point out problem areas, and recommend the right next steps for its condition.
As a bonus, the oils in Roof Maxx also help reduce algae growth on your shingles, so you’ll see fewer of the dark streaks common on aging asphalt roofs.shingles.

If mold develops on your windows, it’s important to address it promptly. Following the steps in this guide will help you safely remove it from your windows and other surfaces, but resolving the root cause of high humidity is the only way to effectively prevent it from coming back.
For maximum protection, remember that your roof is your home’s first line of defense against moisture and the elements. Roof Maxx contains a natural fungicide that can help prevent moss and algae from spreading to your shingles from nearby structures or trees. Connect with a dealer in your area to get a free quote.
Yes, you can usually remove small patches of mold from hard surfaces like glass and vinyl window frames. Wear gloves, goggles, and an N95 respirator, then scrub the affected area with detergent and water. If mold has spread into drywall or other porous materials, you may need professional help.
Mold typically grows around windows because of excess moisture from condensation, poor ventilation, or leaks around the frame. Warm, humid indoor air can condense on cold glass, leaving window sills and frames damp. If the moisture remains long enough, mold can begin to develop.
Bleach might kill mold on hard surfaces like glass, but it doesn’t reliably eliminate mold growing inside porous materials like wood or drywall. It can also leave behind dead mold spores that still trigger allergic reactions. Mixing bleach with other cleaning products can release toxic fumes, so it’s not recommended.
Reduce indoor humidity with dehumidifiers and exhaust fans, and wipe away condensation whenever it develops. You should also inspect window frames for damaged seals, cracked caulking, and leaks that allow moisture to enter. If the problem comes from a roof leak or water damage inside your walls, you’ll need to repair the source before mold stops returning.
Consider hiring a mold remediation professional if the affected area covers more than 10 square feet or the mold has spread behind walls or into other porous materials. You should also seek professional help if mold keeps returning despite repairs or you suspect extensive hidden water damage. People with asthma or weakened immune systems should avoid cleaning mold themselves.




With our five-year, transferable warranty, you’ll enjoy the peace of mind that your roof and entire home are protected.