Roof flashing is essential for protecting your home from the elements. It creates a watertight seal around the most vulnerable parts of your roof, including your chimneys, valleys, skylights, exhaust fans, and vents. Without it, water, moisture, and pests can infiltrate these areas and cause serious structural damage that can be incredibly costly to repair.
Today, the International Residential Code (IRC) and International Building Code (IBC) make flashing mandatory for nearly all roof installations across North America. But properly installed and maintained flashing is so much more than just a code requirement.
Below, we’ll explain what goes into great flashing, why a professional should install it, and how choosing the right type can help prevent the need for early roof replacement.
Most flashing is made up of a single sheet of metal, plastic, or composite material. Some newer systems contain multiple layers of more than one material, like self-sealing butyl adhesives or special backings.
Flashing is usually sold by the roll, as a pre-formed mold, or in sections. Metal flashing is usually around 0.019″ to 0.032″ thick, while flashing made of other materials may be thinner or thicker depending on the system.
Choosing the right type of flashing for your roof is just as important as picking the right material. Different materials and types have different benefits, which is why it’s so important to consult a professional before you install it.
The best type of flashing material for your home will depend on factors like the local climate, your overall budget, and what you’re trying to achieve. Some materials are rigid and highly durable, while others are flexible so they can conform to curved surfaces and inclines.
Materials like lead, soft zinc alloys, tin, and other architectural metals are less common, but they are still used for some special applications.
There are also several different kinds of flashing that are used for specific purposes. Here’s an overview of the most common ones:
Step flashing is installed in overlapping pieces that follow the contour of your roof and entry points like chimneys, dormers, or walls. It helps channel any water, snow, or moisture away from edges so it travels down instead.
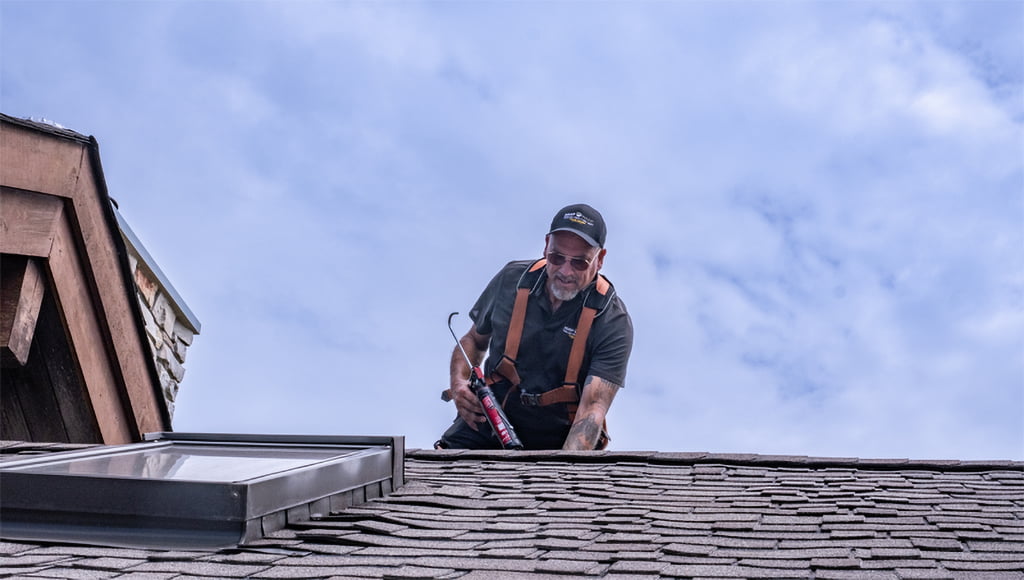
Sometimes called “boot flashing,” vent pipe flashing is specifically designed to prevent leaks around vents, pipes and other infrastructure where it protrudes through your roof. It typically has a metal base with a flexible rubber or silicone seal.
Valley flashing is a single continuous sheet that sits in the area where two roof slopes meet. It directs water down and out of valleys to prevent water from pooling up. This type of flashing is placed under your shingles to provide more protection.
For chimneys, roofers sometimes use a combination of step and counter flashing to create a more impenetrable, watertight seal. The counter flashing is embedded into the chimney itself in overlapping layers with the step flashing to lock out moisture.
Drip edge flashing is installed along the edges of your roof. It specifically keeps water runoff and dripping snow from leaking into the fascia—the vertical board that supports your gutters and downspouts.
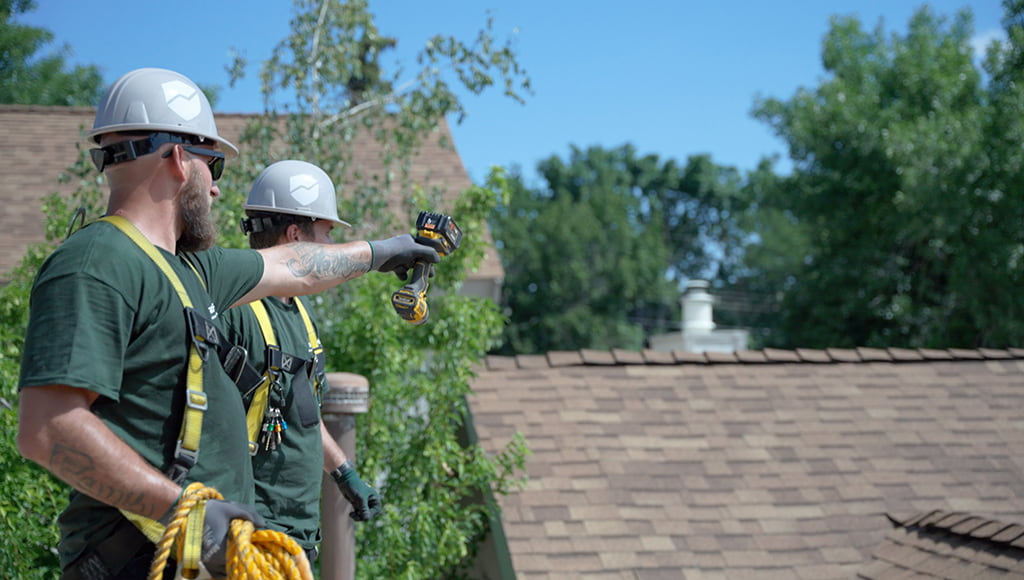
A good roofer will install flashing anywhere where there’s a risk for water runoff to penetrate your roof and leak into your home. The most common locations include:
All of these locations are vulnerable to leaks because even a microscopic space between where materials meet can allow moisture to seep in. Properly installed flashing keeps water flowing off of your roof and into the gutters instead of through cracks or gaps.
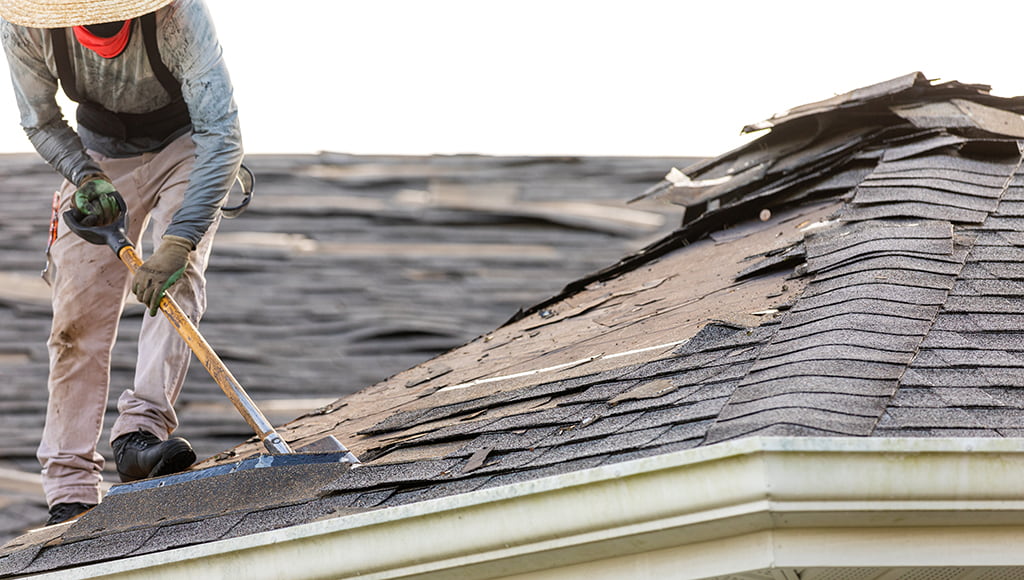
Flashing must be installed correctly in the right location to provide long-lasting, reliable protection, so most roofers don’t recommend trying to handle it yourself. DIY jobs often leave mistakes that can compromise the integrity of your roof and lead to leaks:
Related: How to Spot Roof Leaks From Inside Your Home
Here’s what the installation process typically looks like:
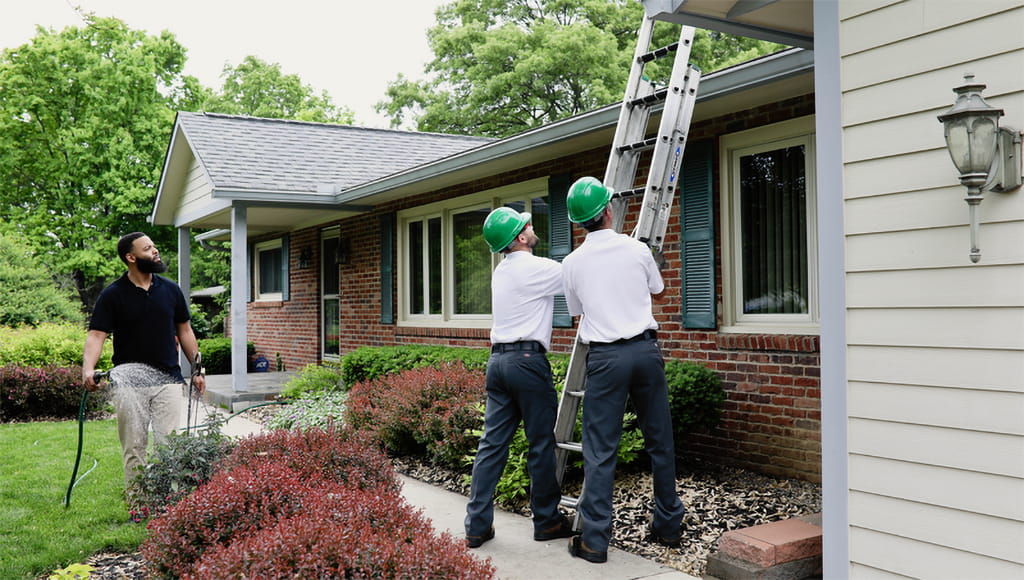
Your flashing will also need proper maintenance, even if it’s installed by the best roofer in the business. Regular inspections and timely repairs help preserve your protection.
All types of flashing need to be inspected and maintained, but the schedule and level of intervention won’t always be the same. Follow these maintenance and inspection tips to keep most materials and systems in tip-top shape.
Warning: Call a professional if you can’t access your flashing from the ground or aren’t comfortable handling these tasks on your own. Never climb up on the roof unless you know how to do so safely.
Simple steps like these help strengthen the integrity of your entire roof, but your flashing can only protect your rooftop effectively if your shingles are in good shape. Cracks, breaks, and loss of flexibility can let water in even if your flashing is properly installed and maintained.
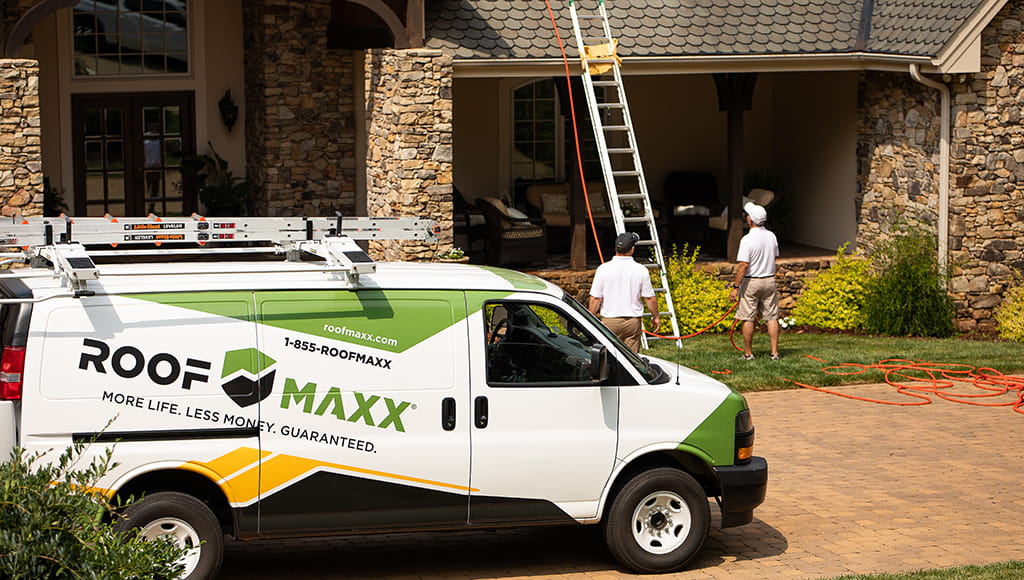
Roof Maxx helps extend the lifespan of your asphalt shingles by up to 15 years. Spraying this all-natural, plant-based solution on your roof helps restore the oils your shingles lose over time. Benefits for homeowners include:
Roof Maxx also costs up to 80% less than the full cost to replace your roof and can help you get more life out of your shingles. Connect with your nearest Roof Maxx dealer to learn more.
Improper installation is the number one problem homeowners have with their flashing. If your flashing isn’t installed correctly, it won’t perform as well and is much more likely to develop all of the problems listed below.
All of these problems will jeopardize the integrity of your roof and home, so it’s vital that you call a professional right away when you spot a problem.
Should you repair—or replace—your flashing? The answer will depend on the condition of your roof and what problem you’re having.
REPAIR when:
REPLACE when:
It’s easy to find reasons to justify putting off minor repairs, but keep in mind that once that protective layer is compromised, it will eventually lead to problems. It severely weakens your roof and can lead to early failure—so it’s just not worth it.
Related: Top 6 Reasons Why Roofs Fail
Most roofers agree that over 90% of all roof leaks begin at the flashing, including 40-year roofing veteran and column writer Tim Carter. In an interview for the Chicago Tribune, Carter said installing it right takes “considerable skill and an understanding of basic physics.”
The takeaway? Take your flashing seriously, work with professionals to install and maintain it, and make sure the rest of your roof is protected so your flashing can do its job. Always do your research before you choose a roofer, and ask questions if you aren’t sure if they’re qualified.
Remember: roof leak repairs can cost thousands of dollars to fix, but being proactive about your home maintenance is easy and can save you thousands of dollars down the line. To rejuvenate your shingles and add years of life to your roof, find a Roof Maxx dealer near you now.

With our five-year, transferable warranty, you’ll enjoy the peace of mind that your roof and entire home are protected.