A Guide to Drip Edge Sizes for Residential Roofs

March 28, 2025
Title card with Roof Maxx logo, branded truck cutout and title "A Guide to Drip Edge Sizes for Residential Roofs" on black and green transparency over an image of a worker installing drip edge on a roof.

Summary

  • To protect the edges of your roof and shingles from water, the drip edge needs to be the right size—not too big, and not too small. Most commercially-available products are sold in 10-foot or 8-foot lengths.
  • L-shaped, T-shaped, and C-shaped drip edges are specifically designed for residential roofing. F-shaped flashing functions the same way but is technically a different solution for channeling water into your gutters.
  • The material and thickness (gauge) of your drip edge need to be sturdy and able to withstand the elements. You’ll also need to factor in the slope and pitch of your roof and the kind of weather you have locally.
  • Measuring your roof accurately is essential for getting the right fit. Following best practices for installation, fastening, and positioning can help you avoid costly mistakes that raise your risk for leaks.

The size of your drip edge matters. Too small, and water will totally bypass the drip edge by leaking right into your shingles. Too large, and it will butt up against other parts of your roof, impairing drainage and giving runoff an easy way to seep into your home.

The International Residential Code (IRC) Section R905.2.8.5 sets minimum standards for drip edge sizing across the United States. This is a great place to start, but it doesn’t really do much to explain how the length of each section, gauge (thickness), and profile factor in.

Learn how to measure your drip edge correctly below so you can lower your risk for leaks and structural damage. We’ll also show you how treating your shingles with Roof Maxx can keep the rest of your roof functioning properly so your flashing can work as intended.
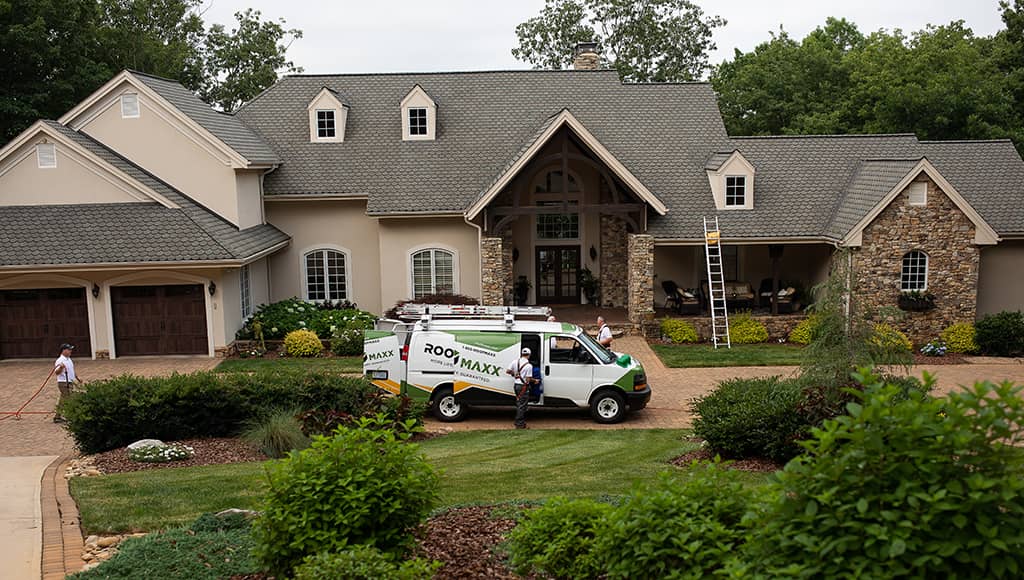
A Roof Maxx truck sits in front of a home with multiple gables and dormers.

Standard Drip Edge Sizes

Drip edges are usually sold in 10-foot sections. These standard lengths are faster and easier to install but also hold up better over time because they don’t create as many seams and overlaps. When properly fitted and installed, your drip edge shouldn’t leak, but the risk is always naturally higher where two materials meet.

Shorter 8-foot sections are really only useful for minor repairs or situations where 10-foot lengths won’t fit—for example, dormers, gables, and skylights.

Common Widths

Drip edge width specifically refers to the horizontal section of your flashing that extends back onto the roof and/or under your shingles. To be code-compliant, it needs to measure at least 2 inches, but other options are available:

  • 3 inches, which provides extra coverage in areas with high winds or frequent rain.
  • 4 inches, which provides more overhang for better water control.

As long as your drip edge is effectively protecting your fascia and soffits without interfering with the rest of your roofing system, 2 inches is sufficient.

A Note on Residential vs. Commercial Sizes

Commercial drip edges have wider profiles because they’re typically installed on flat or low-slope roofs. They’re heavier, come with a much larger vertical flange, and are usually overkill for homes here in the US.

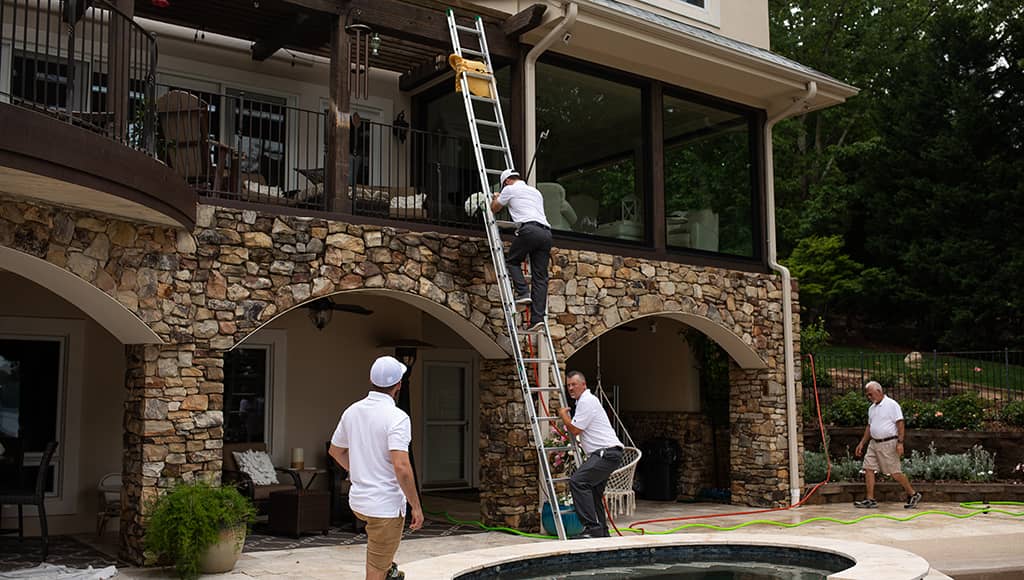
Roofing experts inspect a homeowner's drip edge and roof.

Different Types of Drip Edge

Drip edges for houses are typically L-shaped, T-shaped, or C-shaped. The shape or profile is different from the type, but differences in terminology can make this a bit confusing. Knowing how to cross-reference each type will help you make the right choice.

All of the sizes listed in the sections below are in Width x Length format.

  • Width refers to the horizontal section of the drip edge that extends under the shingles and hangs over the edge of your roof.
  • Length refers to the vertical section that extends downward towards the ground.

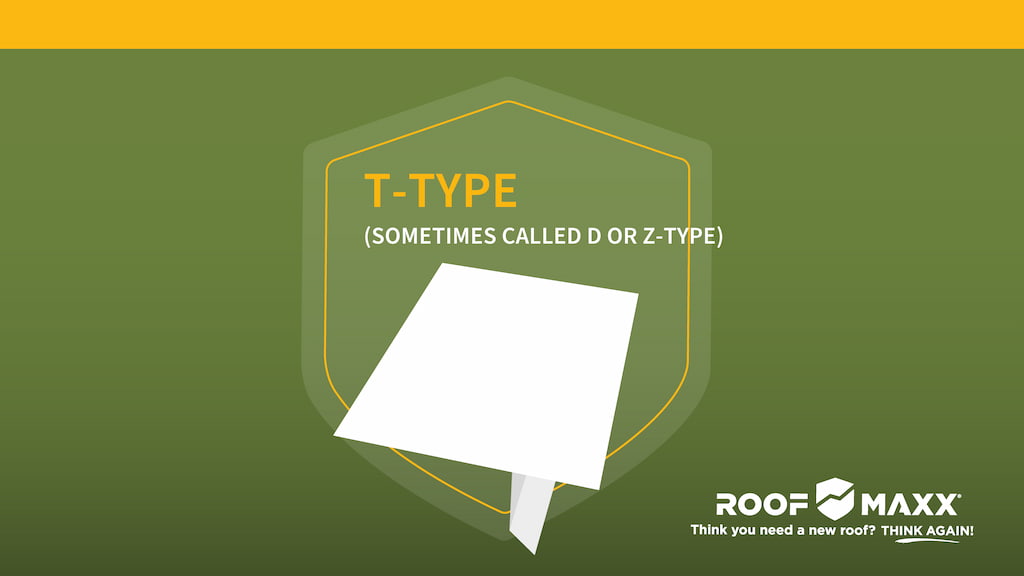
We’ve included a helpful graphic for each type—comparing these side-by-side makes it easier to spot the main differences. See our in-depth drip edge guide for more info, including how different types and materials stack up.
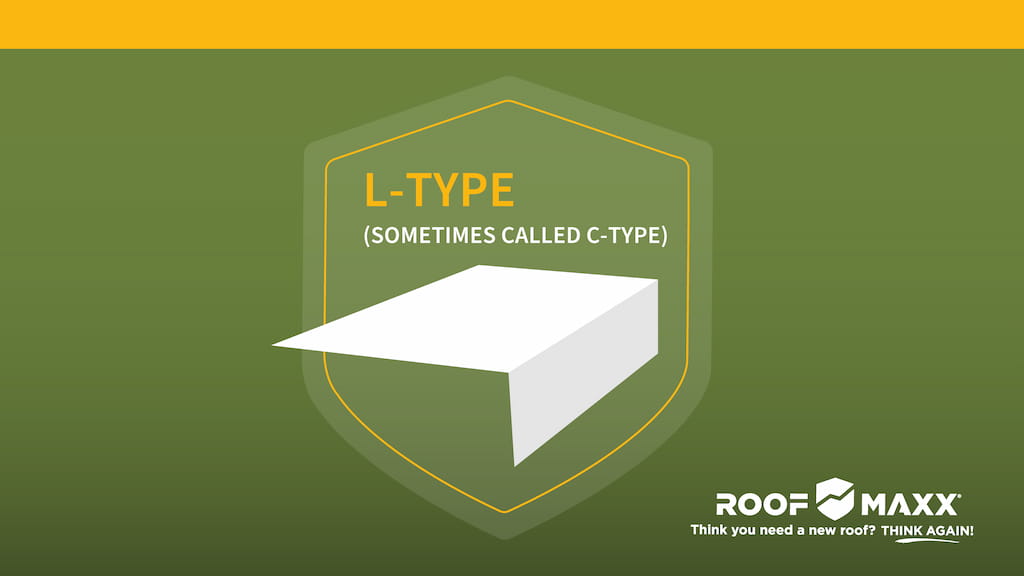
Illustration of an L-type drip edge on a green background with the Roof Maxx logo.

L-Shaped (Type C)

L-shaped or type C drip edge has a 90-degree bend with a slight outward lip. It’s the most common type used in residential roofing.
  • Available in Sizes: 2” x 2”, 3” x 3”, or 2” x 4”.
  • Recommended for: Basic water shedding on shingle roofs.
Illustration of a T-type drip edge on a green background with the Roof Maxx logo.

T-Shaped (Type D)

T-shaped or type D drip edges have an extra lower flange that forms a “T” shape. This directs water further away from the fascia and your walls.
  • Available in Sizes: 2” x 3” or 3” x 4”.
  • Recommended for: Areas with heavy rainfall and high winds.
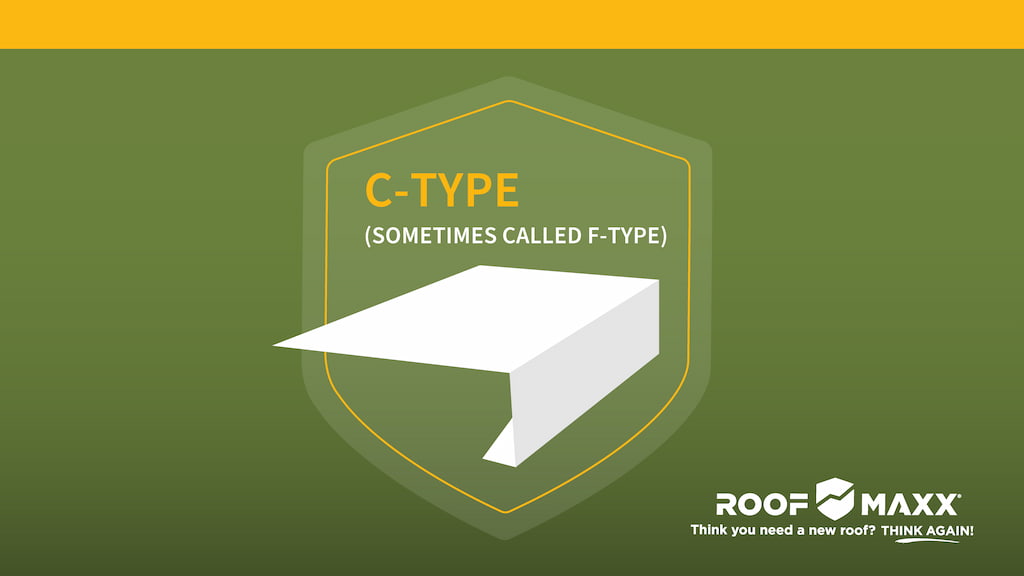
Illustration of a C-type drip edge on a green background with the Roof Maxx logo.

C-Shaped

C-shaped drip edge is specifically designed for standing seam or corrugated metal roofs. It wraps around the entire top and bottom of the roof edge for better protection.

  • Sizes: 2” x 2” to 3” x 3”.
  • Recommended for: Metal roofs.

Stuck on the difference between gutter apron and drip edge? See the diagram below!
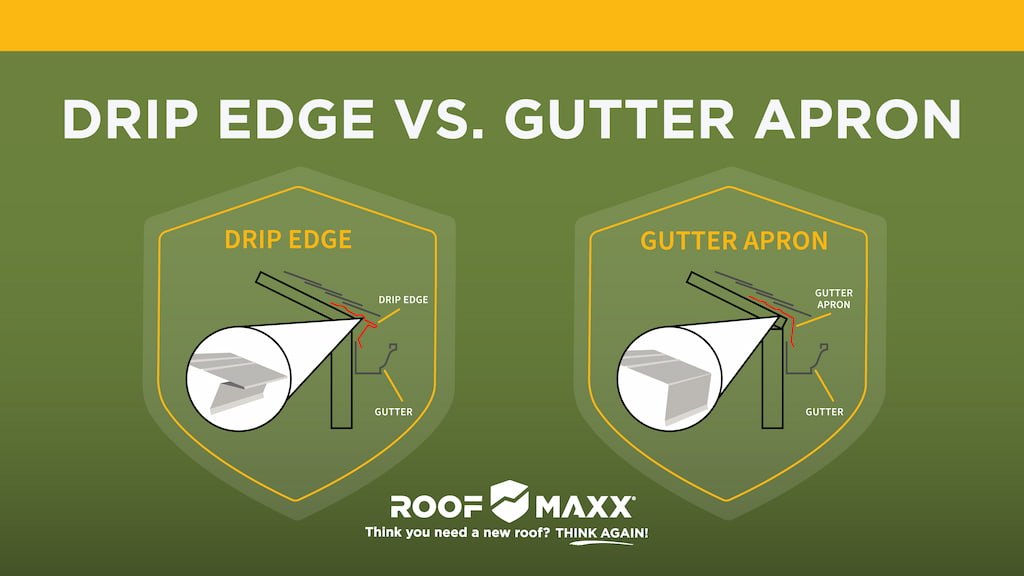
Illustrations of a drip edge vs a gutter apron on a green background with the Roof Maxx logo.

F-Shaped (Gutter Apron)

F-shaped, or gutter apron, isn’t technically a drip edge at all, but it serves the same purpose. It usually has a much larger vertical flange to channel runoff all the way down into the gutter.

  • Available in Sizes: 4” x 2” to 6” x 4”
  • Recommended for: Old, compromised, or vulnerable roofs that need protection.
A Roof Maxx employee shows a customer their options.

Choosing the Right Material & Thickness

Metal drip edge is the industry standard here in the U.S. because it’s better able to withstand the elements, but you have a few options to choose from.

  • Aluminum drip edge is the most common in residential roofing and should always fall somewhere between 0.019 inches (26 gauge) to 0.024 inches (24 gauge) thick. In areas with high winds or ice storms, heavy-duty is best.
  • Galvanized steel starts at around 0.019 inches (26 gauge) but is much heavier and better able to withstand the elements. Heavy-duty steel drip edge measures around 0.024 inches (24 gauge) and offers much more protection.
  • Copper drip edge is typically used in estate homes or on roofs where aesthetics are a priority. Thickness options start at around 0.0216 inches (~24 gauge) and expand up to ~0.027 inches (~22 gauge). Both are very durable and long-lasting.
  • Vinyl drip edge is less common for a reason—it rarely lasts long and is only really appropriate for temporary repairs. If you choose this option for budget reasons, be sure to select a type that’s no less than 1/10 inch (~10 gauge) thick.

If your fascia or roof is already damaged from past leaks or age, you might need to stick with the standard thickness. Heavier metals put a lot more stress on supporting structures.
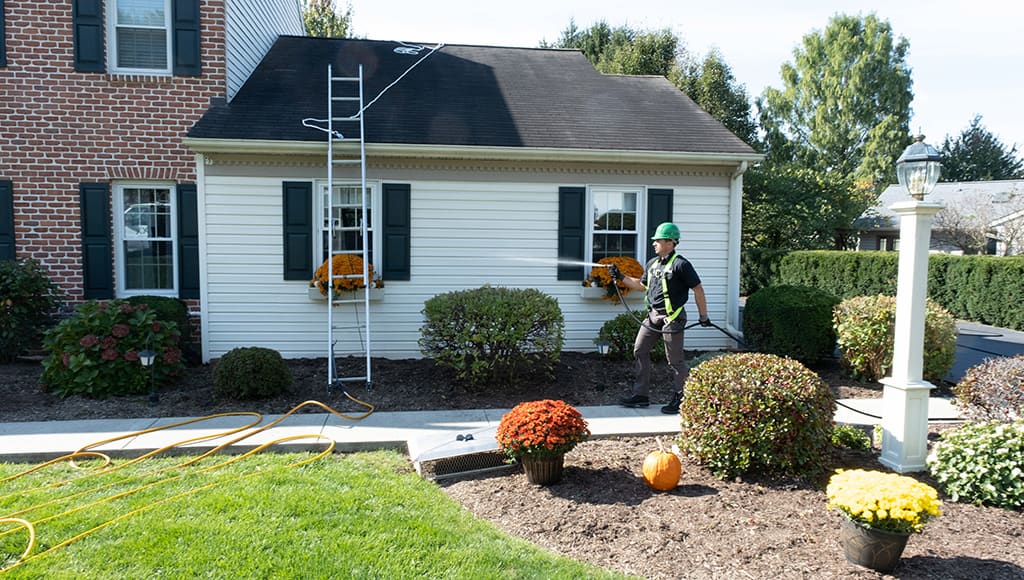
A Roof Maxx dealer gets ready to spray a customer's roof.

Why Slope, Pitch, Climate, & Shingle Type Matter

Your roof design, the type of shingles you have, and the local climate all influence which type of drip edge is best. Here’s what you might want to look for in different situations:

  • If your home has a low-slope roof (below 4:12), look for a wider drip edge (3” x 4”) to stop water from leaking under the shingles. 
  • If your home has a steep-slope roof (above 8:12), proper positioning is more important—a greater incline means water travels down toward the gutter faster.
  • If your home gets heavy rains, snow, or storms, go with gutter apron instead—it’s a good way to prevent runoff from overshooting the gutter or pooling up.
  • If you live in an area with high winds and hurricanes, look for a wider drip edge made from a heavier material like galvanized steel. The extra weight will prevent it from shearing off.
  • If your roof has thicker architectural shingles, you might need drip edges with a taller vertical section. 
  • If your home has built-in gutters or unique roof designs, custom-fabricated drip edges might be the only option. It’s best to consult a roofer before you shop.

Lastly, if your roof is in rough shape, you’ll probably want to take steps to improve the condition of your shingles first. A properly fitted drip edge can’t help if you have granule loss and weak points from years of wear and tear.

Keep Your Shingles in Shape with Roof Maxx

Shingles naturally lose the oils that keep them flexible and durable over time—but these can be restored to add years of life to your roof. This process is also significantly less expensive than a complete roof replacement.

Roof Maxx’s all-natural plant-based treatment makes aging shingles flexible again so that they can weather the elements. Save up to 80% of what it costs to replace your roof by rejuvenating your shingles this way—so that water continues to flow down your roof and off your drip edges instead of leaking through cracks and causing damage. See how Roof Maxx works.
A beautiful home with a shingled roof and brick siding.

Measuring Your Roof for Drip Edge: Step-By-Step Instructions

“Measure twice, cut once” is the DIYers most important rule, but it’s absolutely vital when you’re shopping for drip edges. If you’re even a couple of inches off, it won’t fit correctly—and you might waste money on sections you don’t ultimately need.

Caution! We don’t recommend climbing up on the roof to take measurements like these. It’s safer and easier to call in a roofer, but if you’re committed to tackling the job on your own, please follow proper safety protocols—and never work alone.

If you do intend to try any roofing work yourself, make sure you read this: Roof Fall Protection: How to Stay Safe While on Your Roof

1. Get the Tools You'll Need

You’ll need these things to access your roof and measure it for drip edge successfully:

  • Tape measure (25 ft+)
  • Ladder
  • Chalk line
  • Notepad
  • Pen

2. Measure the Eaves (Horizontal Roof Edges)

  • Set up your ladder securely at one end of the roof.
  • Use a tape measure to measure the full length of each eave (the horizontal edges where the roof meets the fascia).
  • Record the total length.

3. Measure the Rakes (Sloped Gable Edges)

  • Move the ladder to a gable end (the triangular section of the roof).
  • Measure from the bottom of the eave up to the peak (ridge) of the roof.
  • Record this length, then repeat for the other side. 
  • If the roof has multiple gables, measure each one individually.

4. Account for Overlaps

  • Drip edge sections should overlap by at least 2 inches where two pieces meet.
  • To calculate how much extra material you’ll need, divide the total roof edge length by the standard 10-foot drip edge sections. Add extra length for overlaps.
  • Example: If you have 100 feet of roof edge, you’ll need at least 11 sections (10 sections = 100 feet, plus an extra for overlap).

5. Measure the Fascia Height

  • Place the tape measure vertically against the fascia to measure its height.
  • Compare this to the drip edge’s fascia drop (the vertical leg that covers the fascia).
  • Ensure the drip edge will fully cover the fascia without leaving gaps.

Standard fascia boards are 4 to 6 inches tall, so a 2-inch or 3-inch fascia drop usually works.

6. Ensure Proper Overhang into the Gutters

  • Check how far the roof leg of the drip edge extends past the roof edge.
  • It should extend at least ½ inch beyond the roof to ensure water flows into the gutters.

Struggling with the math? Use this drip edge calculator instead. 

Essential Tips for Proper Drip Edge Installation

Good placement and proper fastening techniques will help lock out leaks and extend the life of your entire roofing system. Follow these best practices to get it right:

  • Overlap: The edges of each section must overlap by no less than 2 inches. Anything less will increase your risk of leaks.
  • Corners: When you’re working on corners, use snips to cut and overlap the drip edge so there’s a continuous barrier in place. 
  • Fastening: Use roofing nails (not screws) placed 8” to 12” apart to secure the flashing in place. Nail it into the roof deck—NOT the fascia.
  • Underlayment: Make sure you install drip edges under the underlayment at the eaves. At the rakes, you should install it over the underlayment instead.
  • Overhang: The drip edge should extend into or just beyond the inner edge of the gutter for optimal protection. 
  • Joints: In areas prone to high winds or heavy rain, apply roofing cement or sealant to each overlap for extra protection.

Next, we’ll walk you through the most common mistakes people make when they install drip edges—they’re all directly related to these best practices.

Avoid These Common Mistakes

Improperly installed or fitted drip edges are the number one contributor to roof leaks. If you don’t install flashing correctly in the first place, water will slowly seep in under your shingles and into the fascia over time. These are the most common mistakes people make:

  • Using the wrong size. Too small, and water can easily bypass the drip edge by leaking through your shingles into the fascia. Sizing up may offer more protection, but larger drip edges are also more expensive and harder to install.
  • Improper placement. Drip edge should extend slightly beyond the fascia, not sit flush against it. You want a snug fit against the edge of the roof itself.
  • Insufficient Overlap.  Not having at least 2 inches of overlap raises the risk for leaks and wood rot. Try to make sure you hit this minimum every time.
  • Incorrect Fasteners. If your nails are too far apart, your drip edge may shear off or come loose in high winds. To avoid this, place your nails 8-12 inches apart.

Making sure your drip edge is installed correctly from day one is the best way to keep it in good working condition over the years.

Two Roof Maxx dealers stand by their truck, ready to help.

Protect Your Roof By Following These Best Practices

Properly sized drip edge diverts water away from your roof and down into your gutters, where it can escape into the ground without affecting your home. This helps lower your risk for wood rot, shingle degradation, and costly repairs.

Working with professionals is the best way to make sure your home has the right size and style of drip edge. This will also help you avoid mistakes that could void your warranty or leave vulnerabilities in the finished product.

Choosing the right drip edge is important—and so is preserving your shingles to make sure water can’t leak in through cracks in the asphalt. Roof Maxx’s eco-friendly rejuvenation treatment can help by restoring the natural oils your shingles lose over time. Connect with a dealer in your area now for a free no-obligation quote.

Share this post
Facebook
LinkedIn
X
Reddit
Tumblr
Threads
Email
Print
Picture of Georgios Karakitsios
Georgios Karakitsios
"George Karakitsios owns the website and marketing technology behind Roof Maxx. He has spent more than 12 years building web experiences for homeowners and Roof Maxx customers"
Stay ahead of home repairs and protect your investment
Subscribe now for expert roofing and maintenance tips straight to your inbox!

Five Year Transferable Warranty

With our five-year, transferable warranty, you’ll enjoy the peace of mind that your roof and entire home are protected.

Stay ahead of home repairs and protect your investment
Subscribe now for expert roofing and maintenance tips straight to your inbox!