It’s generally safe to handle basic roof cleaning tasks like removing debris, clearing gutters, and rinsing off the roof on your own as long as you know how to work on the roof safely. Keeping the roof clear is one of the best ways to reduce your risk for leaks, pest invasion, and shingle damage. For tougher jobs, it’s safer to call in a pro who can soft wash the roof or treat moss, algae, and stains for you.
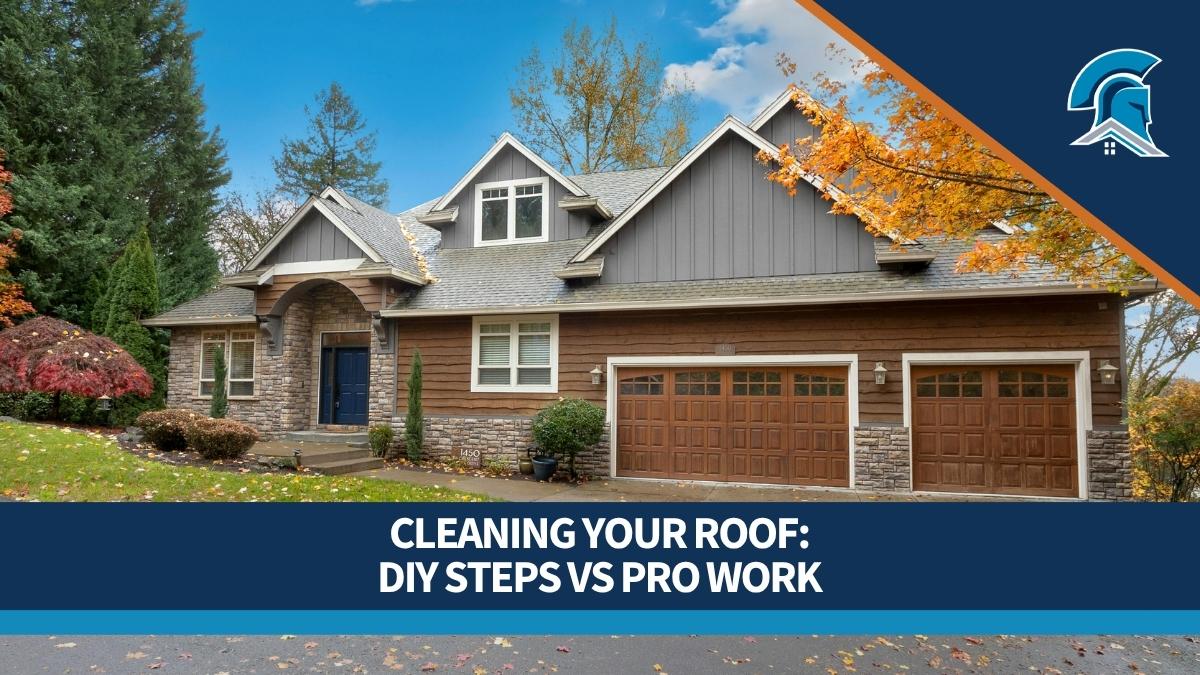
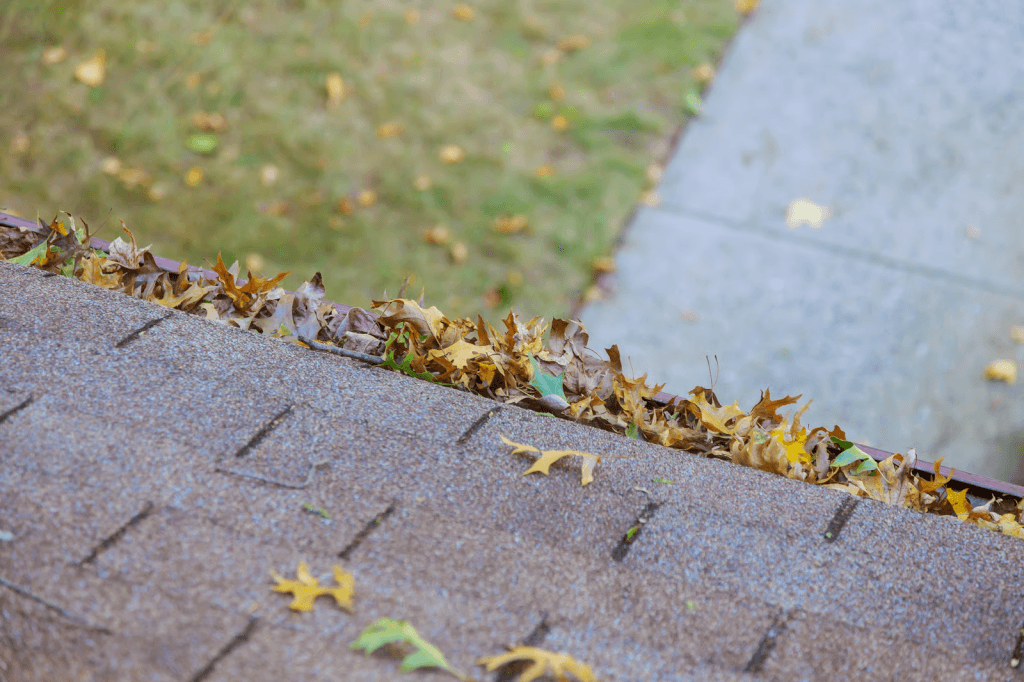
Leaves. Dirt. Twigs. Algae. Moss. Mildew. The average asphalt shingle roof collects a lot more gunk than most homeowners realize, and letting it sit up there for years can lead to serious consequences. All that buildup traps moisture against your shingles, attracts pests, and sets the stage for leaks down the road.
Cleaning your roof can help, but it’s more involved than just hopping up a ladder with the nearest Scrub Daddy and getting to work. Scrub too hard or use the wrong chemicals, and you can seriously damage your shingles or even jeopardize the integrity of your entire roofing system.
In this step-by-step guide, you’ll learn what you can tackle at home on your own, when it’s time to call in a pro, and how a thorough cleaning can help you get more from Roof Maxx treatments.
It’s relatively safe to handle the basic cleaning steps in the next few sections yourself as long as you know how to navigate your roof safely and have the right equipment. A good rule of thumb is to run through these steps once in the spring after winter storms and again in the fall once the leaves come down.
Disclaimer: Working on a roof always carries at least some risk. If you don’t have the right safety equipment, or aren’t 110% confident in your ability to work safely at heights, call a pro. Find out what you need to stay safe in our Roof Safety Guide!
Before you get up there, take a good look at your roof from the ground. Walk around the house and check it from a few different angles so you can see where the problem spots are.
You’re looking for:
Stop and call a pro if you have any reason to suspect you can’t safely walk on the roof. Otherwise, you’re just trying to get a sense of what’s going on before you touch anything. It helps you figure out how much cleaning you’re dealing with and whether anything looks like it needs more than a basic cleanup.
Once you’ve got a sense of what you’re dealing with, it’s time to get up on the roof and get to work. Start by clearing off anything obvious that’s sitting on the surface.
You may find:
Use a soft broom, deck brush, or leaf blower to move debris off of the roof in the same direction water would naturally fall. Never sweep or point the blower upward, as it can damage the adhesive seals on your shingles and let water seep into your underlayment.
ProTip: If you come across a bird’s nest, take a picture before you touch it, then get into contact with your state’s wildlife agency. Some migratory bird nests are protected by law and can’t be removed without permission or until all eggs hatch and the chicks fledge.
The next step is to clean your gutters. Even if the roof itself isn’t that dirty, clogged gutters will prevent water, ice, and snow from falling down over the edge of the roof onto the ground. Water that has nowhere to go will pool up in the worst possible places (like valleys), which can cause leaks.
To clear them out:
Blocked gutters can also push moisture in under your drip edge, which can lead to serious structural damage and rot. The damper your roof, the easier it is for algae and moss to develop.
At this point, you can give the roof itself a light rinse if there’s still surface dirt or dust left behind. Again, here, you want to use an unpressurized garden hose.
For best results:
The goal is to just rinse off anything that you loosened up in the earlier steps so you don’t have to physically pick up each piece of debris and toss it off. You can also try to plan your cleaning just before rainy weather to save a little time, but this is less reliable unless it’s a true downpour.
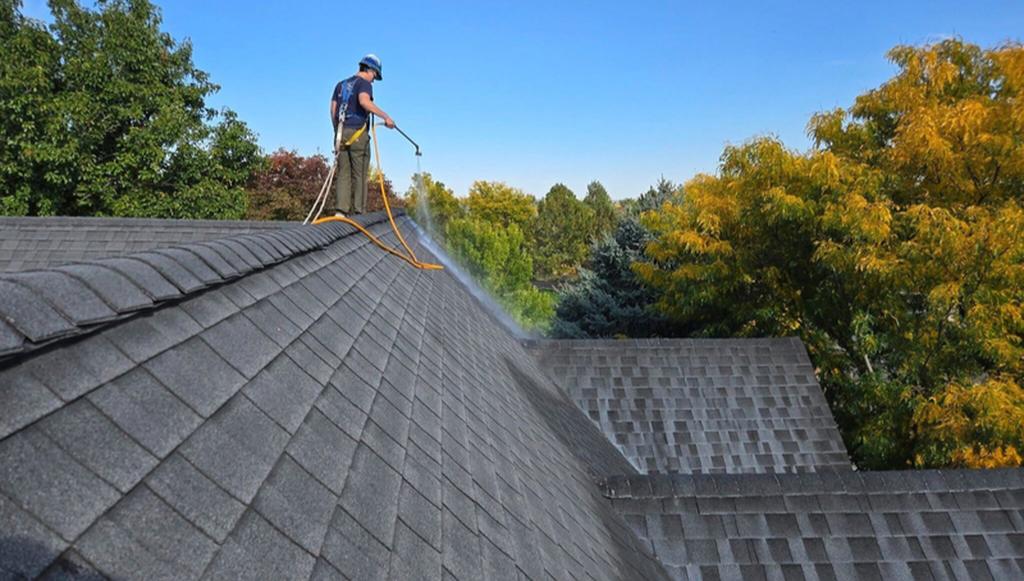
Never pressure wash or power wash your roof! It can strip the protective granules and shorten the life of your shingles. Find out why and what you can do instead.
The roof should be mostly clear at this point. Take a minute to look over the roof again and make note of anything that stands out to you as unusual.
You’re looking for problems like:
Snap a few photos while you’re at it. It’ll give you a reference point for later and make it easier to explain what you’re seeing if you end up bringing in a professional.
Some parts of roof cleaning go beyond basic maintenance. Once you get into anything that’s really stuck on the roof or you have to use harsh chemicals, it’s safer to hand the job off. At that point, it’s less about cleaning and more about not damaging the roof while you’re doing it.
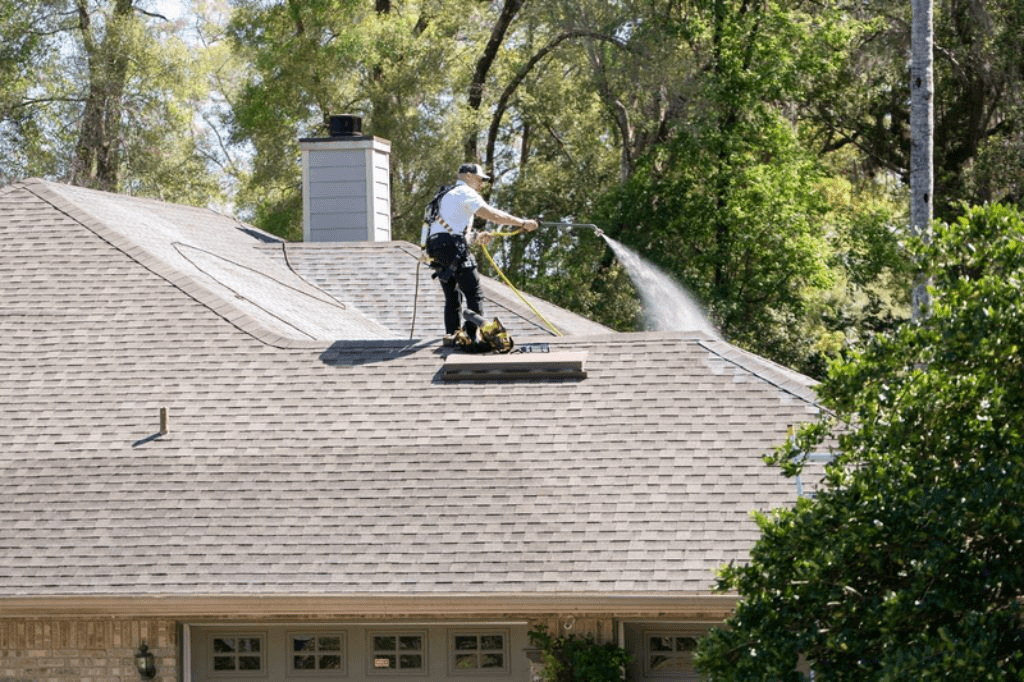
Soft washing is the professional standard for cleaning asphalt roofs. A low-pressure mix of sodium hypochlorite, water, and surfactants applied to the shingles helps to break down any dirt and organic buildup without the need for any scrubbing.
The ratio of the mix can vary, but the process stays the same:
It’s worth asking the person you hire to handle this if they plan to use high-powered or heated pressure washers for this step. This is never recommended and should be considered an automatic red flag. Both can force water up under your shingles and seriously damage your roof.
Soft washing alone may be enough to remove moss, algae, stains, or black streaks, but because it’s bleached-based and contains salts, it can actually make your shingles dry out even faster. You might also need additional follow-up treatments afterward, and that just compounds the problem.
If you do choose to have your roof softwashed, Roof Maxx is a great way to replenish the oils that get stripped out. It might even help prevent organic growths from coming back!
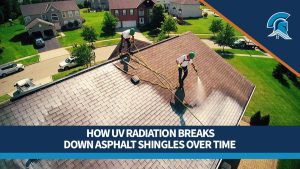
Moss and algae usually look like they’re just sitting on the surface of your roof, but that’s not really accurate from a scientific standpoint. Organic growths like these can actually feed on the material in your shingles or send out tiny, root-like structures that embed themselves in the asphalt core.
Gloeocapsa magma, a type of algae, can also leave behind deeper staining or dark streaks even after the first round of soft washing. Problems like these call for a more targeted approach.
To treat it, pros can:
If the staining still doesn’t lift, it’s usually a sign that it has set into the shingles or that the material is starting to wear, rather than something that can be cleaned off completely.
Asphalt shingles dry out and become brittle as they age. The older your roof, the more likely they are to crack, break, or just stop performing as they should, and that’s a problem.
Roof Maxx is a safe, easy, and affordable option that replaces the petrochemical oils your shingles lose over time with plant-based oils. It soaks down deep into the asphalt core to soften it so your roof can expand and contract with the weather again.
A single treatment can:
For Roof Maxx to work, it has to make direct contact with the surface of your shingles, and dirt, moss, or algae act like a barrier that blocks absorption either partially or completely. Cleaning ensures the best possible result so your shingles last as long as possible.
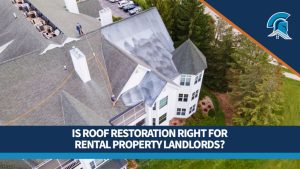
Some Roof Maxx dealers offer roof cleaning services prior to treatment for an additional fee. If your roof has significant moss or algae buildup, it’s worth asking your dealer whether a cleaning first would help you get the most out of your treatment.
Whether you decide to get started on your own at home, or you hire a pro to handle it all, cleaning can be an effective part of your roof maintenance strategy. But cleaning alone won’t heal your shingles, and it could even dry them out even more or accelerate the aging process!
Roof Maxx is a proven treatment that helps keep your shingles going strong for longer so you can get more life out of the roof you have. The entire process takes less than an afternoon and comes with complimentary basic cleaning from pros you can trust. Get your free, no-obligation quote now!

With our five-year, transferable warranty, you’ll enjoy the peace of mind that your roof and entire home are protected.