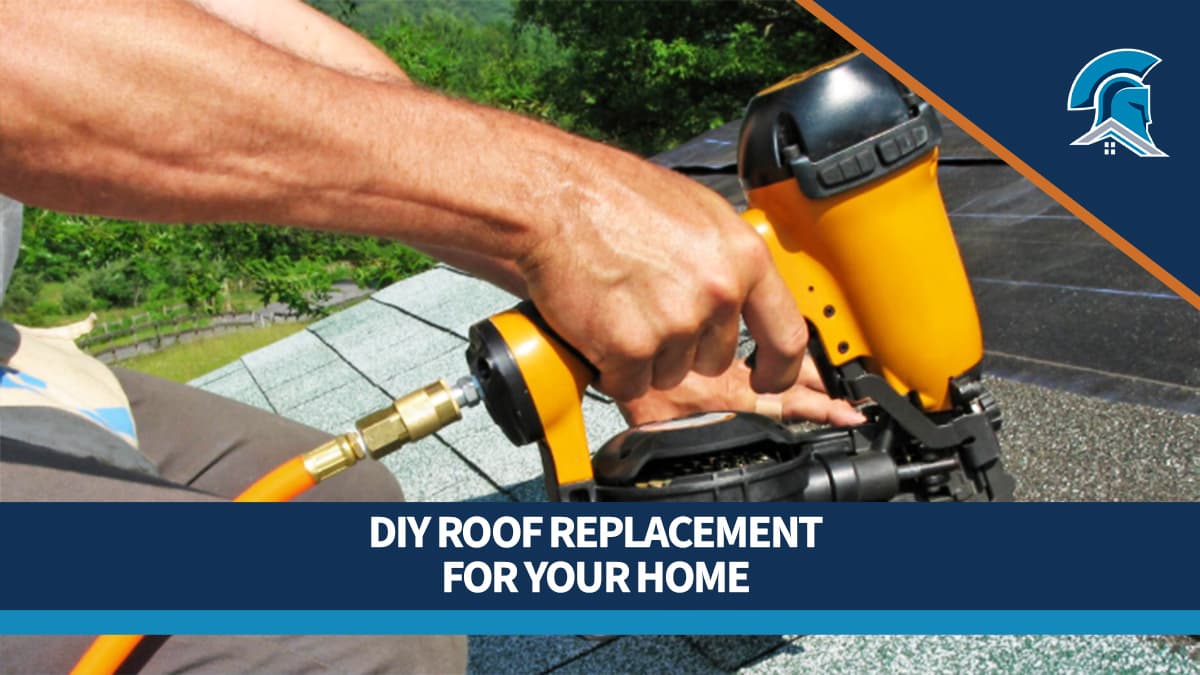
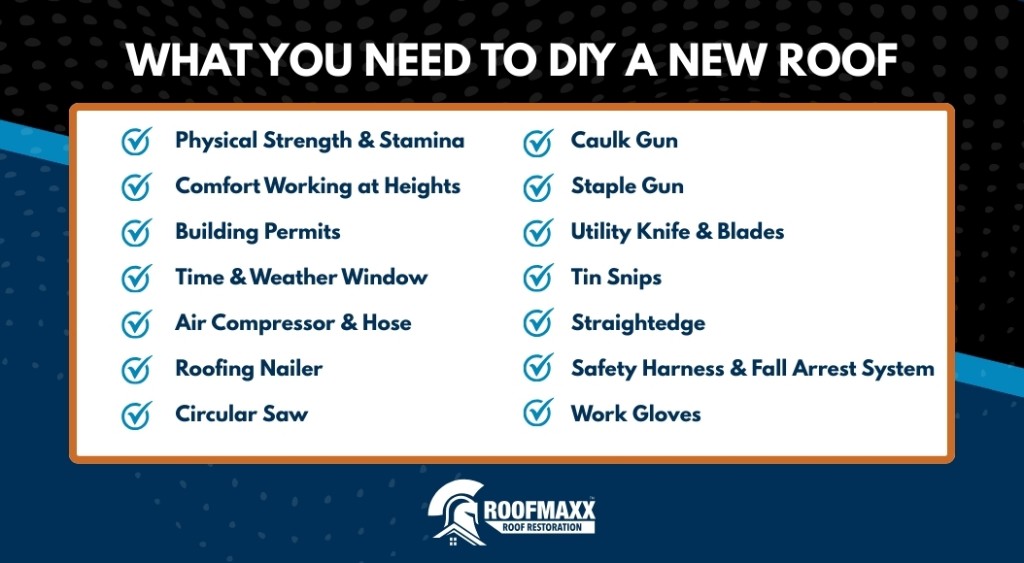
DIY roof replacement isn’t always feasible. Homeowners who aren’t comfortable working at heights and handling special equipment face significant risks. Roofing also requires permits, materials, and tools such as a roofing nailer, circular saw, utility knife, and safety harness. The process involves removing old shingles, fixing any existing problems, installing underlayment, waterproofing, fastening new shingles, and properly sealing all penetrations or entry points. Restoring existing shingles can also be a simpler and more cost-effective way to improve roof condition.
| Time to Read |
|
| What You’ll Learn |
|
| Next Steps |
|
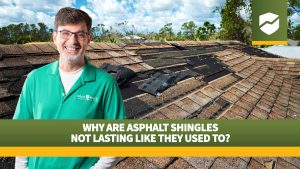
Asphalt shingles, the most common type of roofing for homes and many businesses in the United States, dry out and break down over time. That means there’s a good chance your roof will need to be replaced at some point in the not-so-distant future.
While it’s technically possible to replace an asphalt roof yourself if you have the skill and knowledge, we never recommend handling jobs like these on your own unless you’re a roofer yourself. It’s labor-intensive, potentially unsafe, and could even void your warranty or violate local code.
If you’re absolutely committed to exploring this option, you should at least know what you’re getting into before you get started. Find out what the process typically looks like, where Roof Maxx comes in, and what you need to consider before you forge a path forward on your own below.
DIY roof replacement costs can be surprisingly high. Even though you’re technically getting “free” labor by doing the work yourself, you’re still going to need a lot more than just new shingles. Let’s take a look at common requirements like safety equipment, permits, and more.
The first thing you need for DIY roof replacement is the ability to work on your roof. That’s no small task, especially if you don’t feel comfortable working up high. Many people assume they’ll be fine until they get up there, and the worst possible time to realize you were wrong is after a fall.
Roofing also requires the ability to lift heavy packs of shingles, which can be more taxing on your back, shoulders, arms, knees, and legs than you might think.
Consider that each bundle:
What seems like an easy task for a reasonably strong person can quickly become dangerous. The savings that come from doing your own roof are honestly not worth any long-term injury.
Depending on where you live, you might need a building permit from your city or county. You can check with the city or local building office to find out what permitting is needed.
It’s important to make sure that all of the necessary paperwork is in place before you start. If you skip this step, you could expose yourself to fines or other penalties in the future.
You’ll need the right tools for cutting and securing the roofing materials in place as well as safety equipment to protect you physically. Again, keeping yourself safe is priority number one, which is why we don’t recommend climbing on the roof yourself.
If you decide to proceed anyway, you’ll need tools like:
Tools like these aren’t cheap to buy for yourself, either. Even a cheap roofing nailer will set you back $1-200 or more. Add another $150 or so for a rooftop safety kit for each person who will be up on the roof and costs really start to add up.
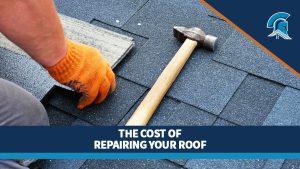
The most obvious expense will be the roofing materials themselves. This is another area where homeowners frequently underestimate what they actually need.
All of these components are essential:
What’s also important to note is that, in some cases, all of these materials need to be compatible with one another. Not all shingles are designed to work with every type of drip edge or flashing, and vice versa.
Some homeowners find that they can actually get a better price by going through a roofer. This makes sense, because most contractors can access volume discounts to help bring costs down.
Why should you do DIY Roofing? The primary motivation is savings. The cost of roofing your house depends on everything from the size of your roof to the type of material you choose.
Even where you live can have an impact. For example, it’s common for a new roof to cost less in places like rural Illinois than in a major city like Denver, Colorado!
On average, the cost of reroofing yourself would run between $2,000 and $6,000. Compare that with paying a roofing company, which would cost between $10,000 and $12,000.

Replacing a new roof is very complicated. First, you need to schedule the job when you know the weather is going to hold out for several days. It’s best to have help so you aren’t doing all of the work yourself, as the process itself can be incredibly exhaustive.
Once you’re ready to go, you’ll follow a specific step-by-step process.
It’s a detailed process, and there’s so much that can go wrong along the way. But if you follow the steps to the letter and talk with people who have done it in the past, it is possible to get it right.
Replacing your own roof isn’t for everyone. It requires a lot of physical work, time, and attention to detail. It’s dangerous work that requires nerves of steel and the ability to understand complex construction techniques, which is why labor is so costly in the first place.
If your roof is just now starting to show signs of age, but your shingles are still in relatively good condition, Roof Maxx may be able to help you avoid a DIY replacement completely. Our plant-based roof restoration solution rejuvenates your shingles for up to 80% less than the cost of a new roof!
Don’t put yourself through an exhaustive DIY replacement when there’s a more affordable option available. Schedule a free roof inspection to see if you qualify for Roof Maxx first!

With our five-year, transferable warranty, you’ll enjoy the peace of mind that your roof and entire home are protected.